
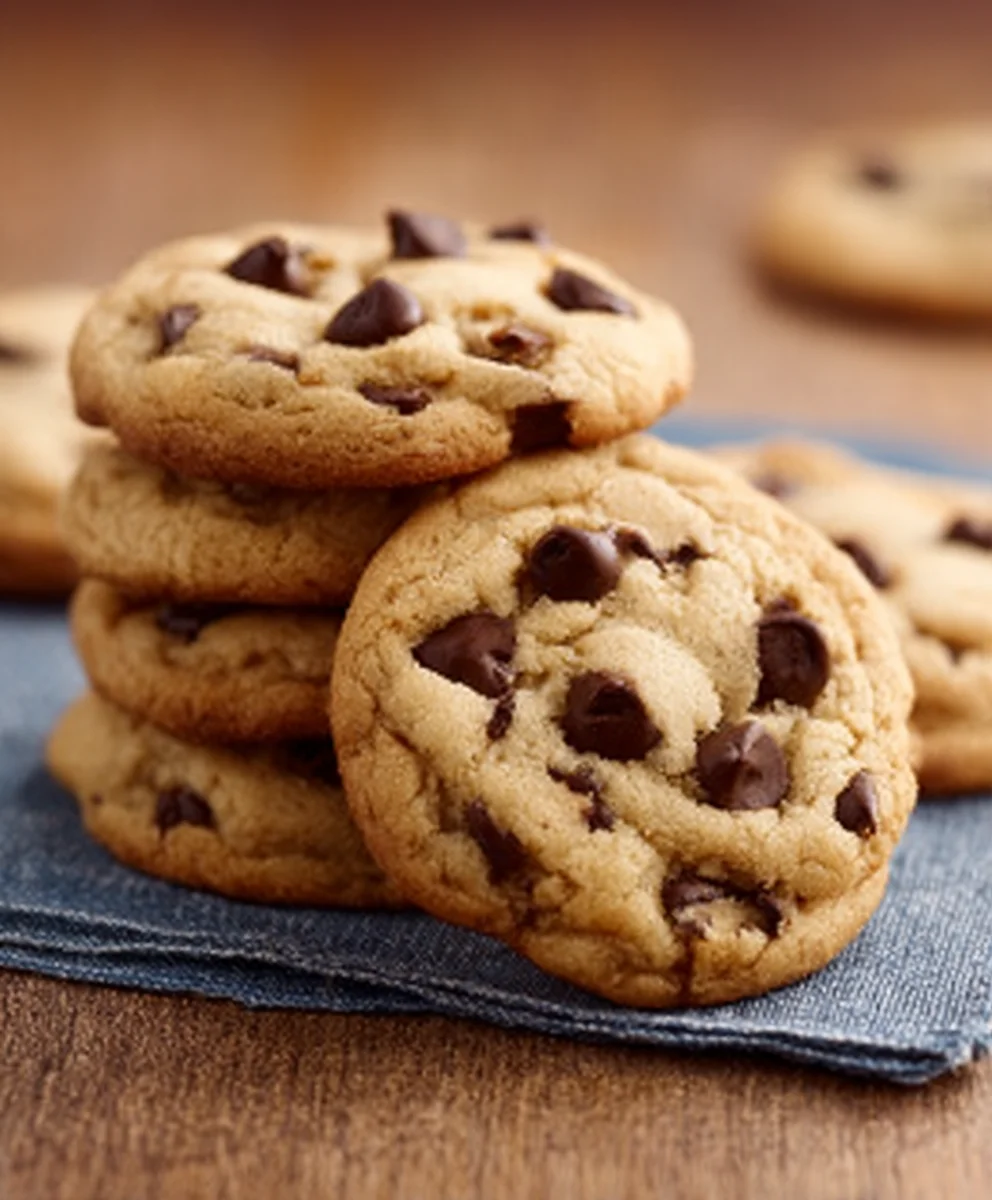
The Best Homemade Chocolate Chip Cookies are more than just a sweet treat; they are a nostalgic journey, a comforting hug, and a universally beloved masterpiece. There’s a magical quality to a perfectly baked chocolate chip cookie – that irresistible aroma that fills the kitchen, the slightly crisp edges giving way to a chewy, tender center, and of course, the glorious pockets of melted chocolate that create pure bliss with every bite. What makes these cookies so special? It’s the alchemy of simple ingredients transforming into something extraordinary, the personal touch of home baking, and the sheer joy they bring to anyone lucky enough to partake. Forget store-bought imitations; today, we’re diving deep into crafting The Best Homemade Chocolate Chip Cookies that will redefine your cookie standards and have everyone beggin extractg for your secret. Get ready to create a batch that’s truly unforgettable.

Ingredients:
- 2 ¼ cups all-purpose flour
- 1 teaspoon baking soda
- 1 teaspoon salt
- 1 cup (2 sticks) unsalted butter, softened
- ¾ cup granulated sugar
- ¾ cup packed light brown sugar
- 2 teaspoons vanilla extract
- 2 large eggs
- 2 cups (12 ounces) semi-sweet chocolate chips
- Optional: 1 cup chopped nuts (like walnuts or pecans)
Preparing Your Cookie Dough Base
Dry Ingredients
The foundation of any great cookie lies in the proper preparation of its dry components. In a medium-sized mixing bowl, I like to whisk together the all-purpose flour, baking soda, and salt. Whisking isn’t just for aesthetics; it’s crucial for evenly distributing the leavening agent (baking soda) and salt throughout the flour. This ensures that your cookies rise uniformly and have a balanced flavor, preventing any single bite from being overly salty or having a metallic taste from unmixed baking soda. Set this bowl aside. It’s important that these dry ingredients are well-combined before they meet the wet ingredients, as this prevents overmixing later, which can lead to tough cookies.
Creaming the Butter and Sugars
This is where the magic of texture begin extracts to happen. In a large mixing bowl, preferably using a stand mixer with the paddle attachment (though a hand mixer works perfectly well too), cream together the softened unsalted butter, granulated sugar, and packed light brown sugar. Softened butter is key here – it should be pliable and not melted. This allows it to properly emulsify with the sugars, incorporating air which is vital for creating a tender cookie. Beat these together on medium speed for about 2 to 3 minutes, or until the mixture is light, fluffy, and pnon-alcoholic ale in color. Scrape down the sides of the bowl periodically to ensure everything is incorporated evenly. The brown sugar adds moisture and a slightly caramel note, contributing to that signature chewy texture in a perfect chocolate chip cookie.
Adding the Wet Ingredients
Once your butter and sugar mixture is wonderfully creamy, it’s time to introduce the eggs and vanilla extract. Add the two large eggs, one at a time, beating well after each addition. Beating well after each egg helps to fully incorporate it into the creamed mixture, creating a stable emulsion. Too much agitation after adding both eggs can also contribute to toughness, so just beat until each egg is just combined. Next, add the 2 teaspoons of vanilla extract. Vanilla is more than just a flavor enhancer; it rounds out the sweetness and complements the chocolate beautifully. Beat on low speed until just combined.
Incorporating the Chocolatey Goodness
Combining Wet and Dry Mixtures
Now, it’s time to bring our two prepared mixtures together. Gradually add the dry ingredients to the wet ingredients, mixing on low speed until just combined. It’s incredibly important not to overmix at this stage. As soon as you no longer see streaks of dry flour, stop mixing. Overmixing develops the gluten in the flour, which can make your cookies tough and dense rather than tender and chewy. I often find it helpful to add the dry ingredients in about three additions, stirring gently with a spatula between each addition to ensure everything is incorporated without overworking the dough.
Folding in the Chocolate Chips and Nuts (Optional)
This is perhaps the most exciting step for many! Gently fold in the 2 cups of semi-sweet chocolate chips. Using a spatula or wooden spoon, incorporate them into the dough until they are evenly distributed. If you’re opting for nuts, this is also the time to fold them in. Again, the goal here is to gently mix, not to vigorously stir, to avoid developing the gluten. I like to save a small handful of chocolate chips to press onto the tops of the cookies before baking for an extra touch of melted chocolate bliss.
Baking Your Perfect Cookies
Chilling the Dough (Recommended)
While not strictly mandatory, I highly recommend chilling your cookie dough for at least 30 minutes to an hour, or even overnight. This step is a game-changer for cookie texture and flavor. Chilling allows the flour to hydrate fully, the butter to firm up, and the flavors to meld. When the dough hits the hot oven, the chilled butter melts more slowly, preventing the cookies from spreading too much and resulting in thicker, chewier cookies. It also helps to prevent the dreaded greasy cookie. Cover the bowl tightly with plastic wrap and refrigerate.
Shaping and Baking the Cookies
Preheat your oven to 375°F (190°C). Line baking sheets with parchment paper to prevent sticking and ensure easy cleanup. Using a cookie scoop (about 1.5 to 2 tablespoons) or two spoons, drop rounded balls of dough onto the prepared baking sheets, leaving about 2 inches of space between each cookie to allow for spreading. If you haven’t already, press a few extra chocolate chips onto the tops of the dough balls for that irresistible look. Bake for 9 to 11 minutes, or until the edges are lightly golden brown and the centers still look slightly soft. They will continue to cook on the baking sheet as they cool.
Cooling for Optimal Texture
This is a critical step that many overlook! Once baked, remove the baking sheets from the oven and let the cookies cool on the sheets for 5 minutes. This allows them to set up enough to be moved without falling apart. After 5 minutes, carefully transfer the cookies to a wire rack to cool completely. Resist the urge to bite into them immediately; letting them cool completely on the wire rack develops that perfect chewy texture. The residual heat will continue to bake them slightly on the hot baking sheet, which can lead to overbaked, dry cookies if you don’t give them this cooling time. Enjoy your truly amazing homemade chocolate chip cookies!
Conclusion:
There you have it – the path to creating The Best Homemade Chocolate Chip Cookies! We’ve explored the essential steps, from creaming your butter and sugar to achieving that perfect balance of chewy center and slightly crisp edges. These cookies are more than just a dessert; they’re a warm hug in every bite, perfect for sharing with loved ones or indulgin extractg in a moment of pure bliss. Remember, the magic truly happens when you experiment with your favorite types of chocolate chips or add a sprinkle of sea salt on top for an extra flavor dimension. Don’t be afraid to tweak this recipe to your personal preference – that’s the beauty of homemade baking!
Serve The Best Homemade Chocolate Chip Cookies warm from the oven with a tall glass of milk, or let them cool completely for a satisfying crunch. They are also fantastic crum extractbled over ice cream or used to make a decadent ice cream sandwich. For variations, consider adding chopped nuts like walnuts or pecans, or even a swirl of peanut butter to the dough before baking. The possibilities are endless!
Frequently Asked Questions about The Best Homemade Chocolate Chip Cookies:
Q: My cookies spread too much. What went wrong?
A: Excessive spreading can often be due to using softened, not room-temperature, butter, or if the dough was overmixed after adding the flour. Ensure your butter is soft but not melted, and mix the dry ingredients in until just combined. Chilling the dough for at least 30 minutes before baking can also significantly help prevent excessive spreading.
Q: Can I make the dough ahead of time?
A: Absolutely! The dough for The Best Homemade Chocolate Chip Cookies can be made up to 2-3 days in advance and stored in the refrigerator. The chilling time can actually improve the flavor and texture of the cookies, as it allows the ingredients to meld together. Just scoop and bake as usual, they might take a minute or two longer in the oven.
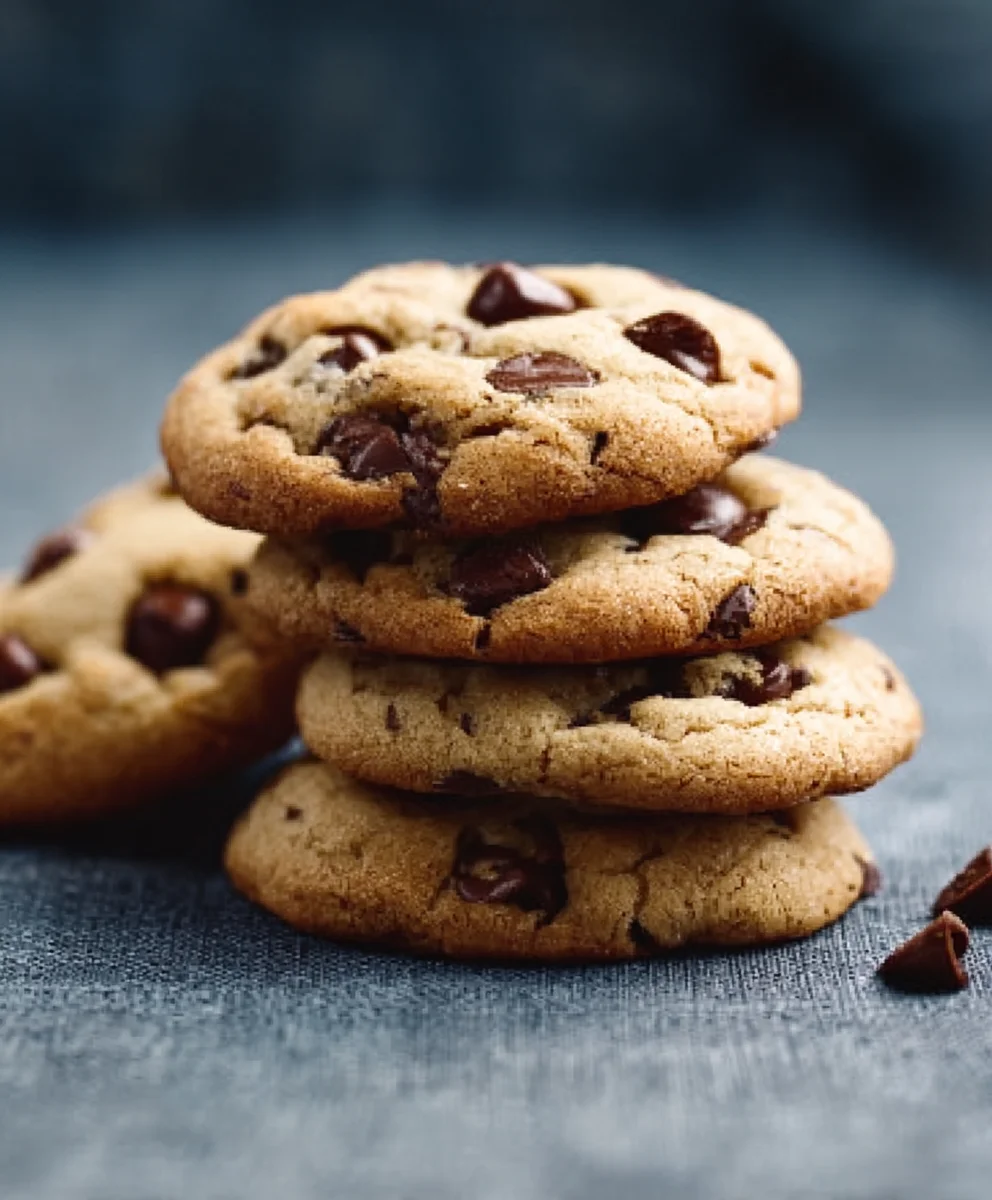
Best Homemade Chocolate Chip Cookies
An easy recipe for delicious, chewy homemade chocolate chip cookies.
Ingredients
-
2 ¼ cups all-purpose flour
-
1 teaspoon baking soda
-
1 teaspoon salt
-
1 cup (2 sticks) unsalted butter, softened
-
¾ cup granulated sugar
-
¾ cup packed light brown sugar
-
2 teaspoons vanilla extract
-
2 large eggs
-
2 cups (12 ounces) semi-sweet chocolate chips
-
1 cup chopped nuts (like walnuts or pecans)
Instructions
-
Step 1
In a medium bowl, whisk together the flour, baking soda, and salt. Set aside. In a large bowl, cream together the softened butter, granulated sugar, and brown sugar until light and fluffy. -
Step 2
Add the eggs one at a time to the butter mixture, beating well after each addition. Stir in the vanilla extract. Mix on low speed until just combined. -
Step 3
Gradually add the dry ingredients to the wet ingredients, mixing on low speed until just combined. Do not overmix. Fold in the chocolate chips and nuts. -
Step 4
Cover the dough and refrigerate for at least 30 minutes to an hour. Preheat your oven to 375°F (190°C) and line baking sheets with parchment paper. -
Step 5
Drop rounded balls of dough onto the prepared baking sheets, leaving about 2 inches of space between cookies. Bake for 9 to 11 minutes, or until the edges are lightly golden brown and the centers are still soft. -
Step 6
Let the cookies cool on the baking sheets for 5 minutes before transferring them to a wire rack to cool completely.
Important Information
Nutrition Facts (Per Serving)
It is important to consider this information as approximate and not to use it as definitive health advice.
Allergy Information
Please check ingredients for potential allergens and consult a health professional if in doubt.

Leave a Comment