
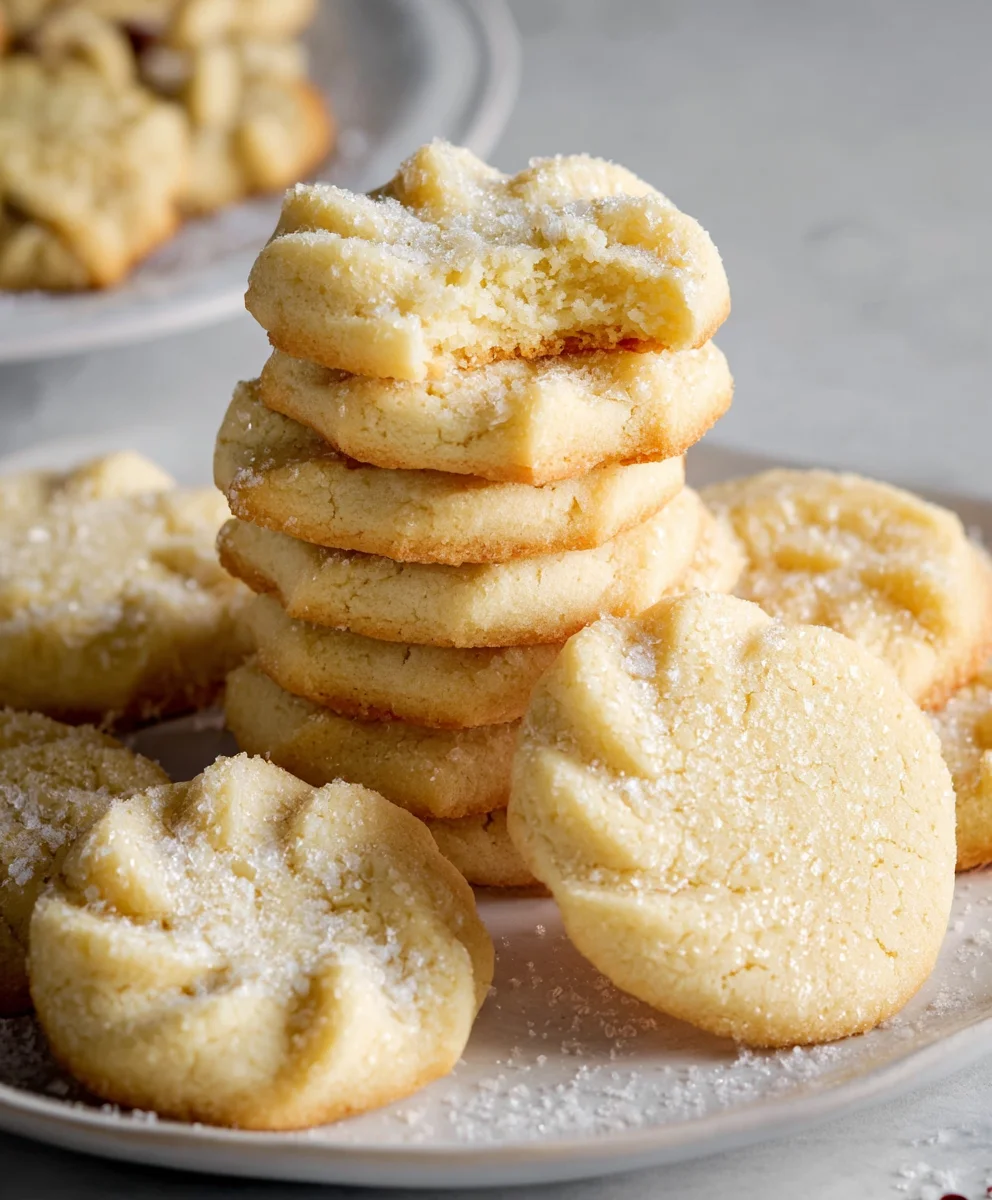
Danish Butter Cookies (Melt in your mouth) are more than just a simple baked good; they are a nostalgic embrace, a delicate whisper of old-world charm that transports us to cozy kitchens and cherished family traditions. What is it about these golden, buttery discs that captures our hearts so effortlessly? Perhaps it’s the sheer simplicity of their perfection, the way they yield with the gentlest pressure, dissolving on the tongue in a creamy, sweet sigh. These aren’t just cookies; they are miniature works of art, meticulously crafted to deliver an unparalleled sensory experience. The magic truly lies in their texture – that signature crum extractble, followed by an exquisite melt, a testament to the high-quality butter and careful baking. They are the perfect accompaniment to a steaming cup of coffee or tea, a delightful treat for any time of day, and an absolute showstopper when presented at gatherings.
Why We Adore Them:
The enduring appeal of Danish Butter Cookies (Melt in your mouth) stems from their universally pleasing flavor and their uncanny ability to evoke feelings of comfort and indulgence. They represent a pure, unadulterated joy in simple, well-made food. Unlike many overly sweet or complex pastries, these cookies celebrate the fundamental, glorious flavor of butter, elevated by just the right touch of sugar and a hint of vanilla. They are elegant enough for special occasions yet comforting enough for everyday moments, making them a truly versatile delight.
What Makes Them So Special:
The key to the extraordinary “melt in your mouth” quality of these cookies is the precise balance of ingredients and the gentle handling of the dough. High-fat European-style butter is paramount, contributing to the rich flavor and rum extractder crumb. The method of creaming the butter and sugar ensures a light and airy texture, while the addition of cornstarch or a touch of almond flour (depending on the recipe) contributes to that characteristic delicate crispness that gives way to pure melt-away bliss. Each cookie is a tiny masterpiece, a testament to the artistry of simple baking.

Ingredients:
- 1 cup (227 g) European salted butter, softened to room temperature
- 1/2 cup (100 g) granulated sugar
- 1/8 teaspoon salt
- 2 large egg yolks
- 2 teaspoons (10 g) pure vanilla extract
- 1 tablespoon (15 g) whole milk, plus more if needed to achieve desired consistency
- 2 cups (220 g) all-purpose flour
- 1/2 cup (50 g) cake flour
- Coarse sugar, for decorating (optional)
Creaming the Butter and Sugar
Step 1: Achieve Creamy Perfection
Begin extract by placing your softened European salted butter in a large mixing bowl. The butter should be pliable, yielding easily to the touch, but not melted. This is crucial for achieving the light and airy texture characteristic of melt-in-your-mouth Danish butter cookies. Add the granulated sugar and the 1/8 teaspoon of salt to the bowl. Using an electric mixer, whether a stand mixer with a paddle attachment or a handheld mgin extractr, begin to cream these ingredients together. Start on a low speed to prevent the sugar from scattering, then gradually increase the speed to medium-high. Continue to beat for at least 3 to 5 minutes, or until the mixture is pnon-alcoholic ale yellow and noticeably fluffy. This process incorporates air into the butter and sugar, which is a key factor in the cookies’ delicate crum extractb. Scrape down the sides and bottom of the bowl occasionally to ensure everything is evenly incorporated. You’re looking for a light, whipped consistency, much like frosting.
Incorporating Wet Ingredients
Step 2: Enriching the Dough
Once your butter and sugar mixture is beautifully creamy, it’s time to add the egg yolks and vanilla extract. Add the two large egg yolks to the bowl, one at a time, beating well after each addition until fully incorporated. The egg yolks contribute richness and a lovely golden hue to the cookies. Next, pour in the 2 teaspoons of pure vanilla extract. Mix on medium speed until everything is thoroughly combined. At this stage, the mixture might look a little curdled, which is perfectly normal. Don’t worry, as this will resolve once the dry ingredients are added.
Adding the Milk and Softening the Dough
Step 3: Achieving the Right Consistency
Now, add the 1 tablespoon of whole milk. This small amount of liquid helps to bring the dough together. Mix on low speed until just combined. The dough might still be quite firm at this point. If it seems excessively stiff and difficult to work with, you can add an additional teaspoon or two of milk, mixing briefly after each addition, until the dough reaches a soft, pliable consistency that is still firm enough to hold its shape. The goal is a dough that is smooth and easily manageable, not sticky or overly wet. Over-mixing at this stage can develop the gluten in the flour, leading to tougher cookies, so be gentle.
Combining the Flours
Step 4: The Delicate Balance of Flours
In a separate medium bowl, whisk together the 2 cups of all-purpose flour and the 1/2 cup of cake flour. Whisking ensures that the flours are evenly distributed, which is important for consistent cookie texture. Cake flour, with its lower protein content, contributes to the tender, melt-in-your-mouth quality of these cookies. Gradually add the combined flour mixture to the wet ingredients in the large mixing bowl. Mix on the lowest speed of your electric mixer, or use a rubber spatula, just until the flour is incorporated and no dry streaks remain. Be careful not to overmix; stop as soon as the dough comes together. Overworking the dough will result in tougher cookies, so a light hand is essential here.
Shaping and Baking the Cookies
Step 5: Forming and Decorating for a Golden Finish
Once the dough has just come together, it’s ready to be shaped. You have a couple of options for shaping these Danish butter cookies to achieve their classic look. One common method is to place the dough in a piping bag fitted with a star tip (like a 1M tip) and pipe swirls or rosettes directly onto parchment-lined baking sheets. Alternatively, you can chill the dough for about 30 minutes, then roll it into small balls and gently flatten them with the palm of your hand or the bottom of a glass. For an even more traditional look, you can press the dough into decorative cookie molds before baking. Regardless of the shaping method, ensure that the cookies are spaced about 2 inches apart on the baking sheets to allow for even heat circulation and expansion. If you desire a touch of sparkle and crunch, lightly brush the tops of the cookies with a little milk or water and sprinkle them with coarse sugar before baking. Preheat your oven to 350°F (175°C). Bake for 12 to 15 minutes, or until the edges are lightly golden and the centers are set. Keep a close eye on them, as they can brown quickly. Allow the cookies to cool on the baking sheets for a few minutes before carefully transferring them to a wire rack to cool completely. This resting period on the baking sheet helps them firm up. Once cooled, they are ready to be enjoyed.
Conclusion:
And there you have it – the secret to perfectly baked Danish Butter Cookies (Melt in your mouth)! We’ve walked through each step, from creaming the butter and sugar to achieving that signature delicate crum extractb. These cookies truly live up to their name, dissolving on your tongue in a delightful buttery embrace. They are incredibly versatile, making them perfect for any occasion. Serve them alongside your afternoon tea or coffee, or arrange them on a festive platter for gatherings. For a delightful twist, consider adding a hint of almond extract to the dough or a sprinkle of flaky sea salt on top before baking. Don’t be afraid to experiment! The joy of baking these cookies is in their simplicity and the delicious results. We encourage you to try this recipe and experience the magic of authentic Danish Butter Cookies (Melt in your mouth) for yourself. Happy baking!
Frequently Asked Questions:
Can I freeze the dough for Danish Butter Cookies (Melt in your mouth)?
Yes, absolutely! You can form the dough into logs, wrap them tightly in plastic wrap, and freeze them for up to 3 months. When you’re ready to bake, simply let the log thaw slightly at room temperature for about 10-15 minutes before slicing and baking as per the recipe instructions. You might need to add a minute or two to the baking time.
My Danish Butter Cookies (Melt in your mouth) spread too much. What went wrong?
There are a couple of common reasons for excessive spreading. Firstly, ensure your butter wasn’t too soft or melted when you creamed it with the sugar; it should be at room temperature but still hold its shape. Secondly, chilling the dough for at least 30 minutes before slicing and baking is crucial. This helps the fat solidify, preventing the cookies from spreading too rapidly in the oven.
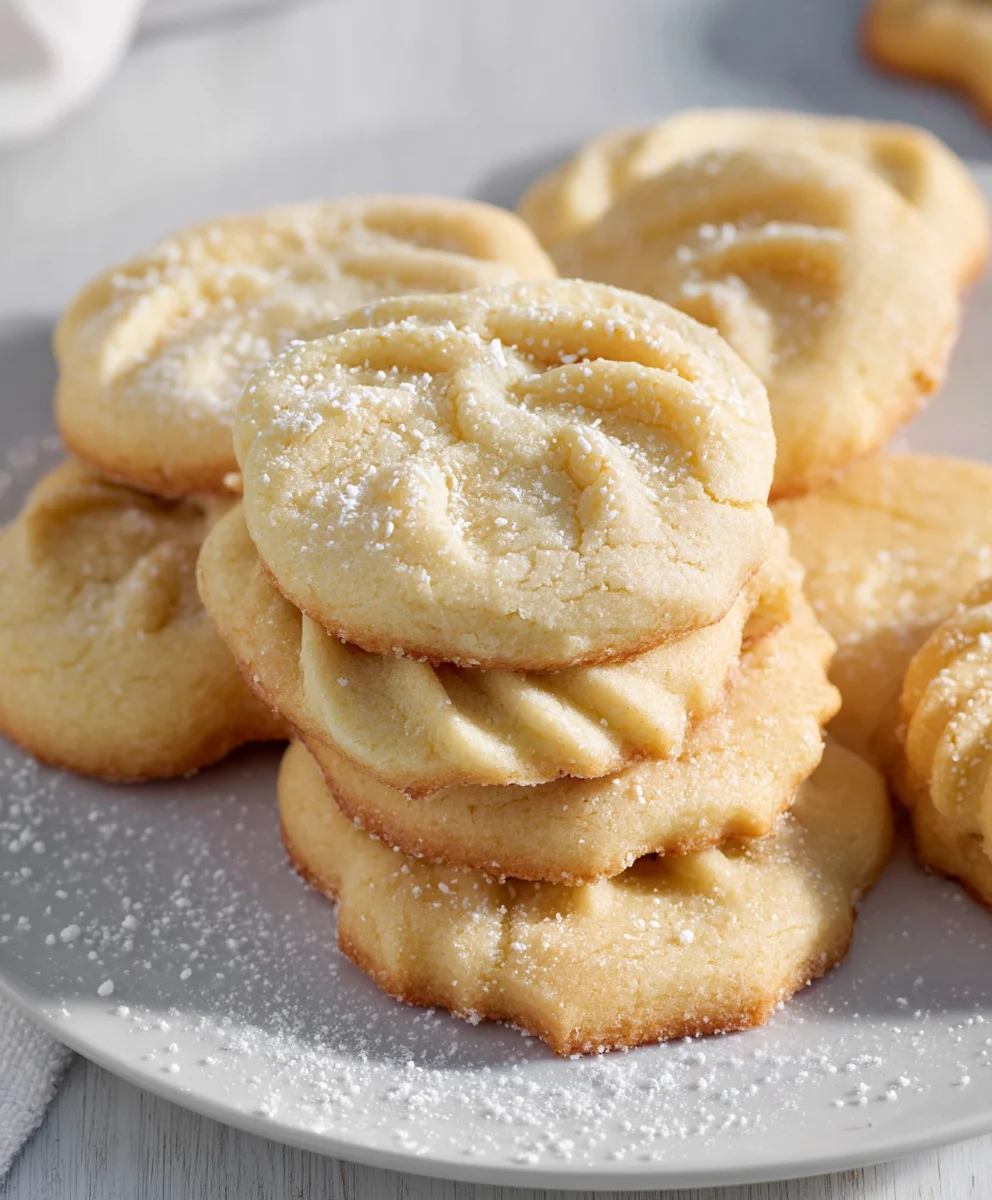
Melt-in-your-mouth Danish Butter Cookies
Delicate and buttery Danish cookies that melt in your mouth, perfect for any occasion.
Ingredients
-
1 cup (227 g) European salted butter, softened to room temperature
-
1/2 cup (100 g) granulated sugar
-
1/8 teaspoon salt
-
2 large egg yolks
-
2 teaspoons (10 g) pure vanilla extract
-
1 tablespoon (15 g) whole milk, plus more if needed to achieve desired consistency
-
2 cups (220 g) all-purpose flour
-
1/2 cup (50 g) cake flour
-
Coarse sugar, for decorating (optional)
Instructions
-
Step 1
Cream softened European salted butter, granulated sugar, and salt in a large mixing bowl with an electric mixer on medium-high speed for 3-5 minutes until light yellow and fluffy. Scrape down the sides and bottom of the bowl occasionally. -
Step 2
Add egg yolks one at a time, beating well after each addition until fully incorporated. Stir in the pure vanilla extract until thoroughly combined. -
Step 3
Add whole milk and mix on low speed until just combined. Add an additional teaspoon or two of milk if the dough seems excessively stiff, until a soft, pliable consistency is reached. Avoid over-mixing. -
Step 4
In a separate bowl, whisk together all-purpose flour and cake flour. Gradually add the flour mixture to the wet ingredients and mix on the lowest speed or with a rubber spatula just until incorporated. Do not overmix. -
Step 5
Shape the dough by piping swirls or rosettes onto parchment-lined baking sheets, or chill, roll into balls, and flatten. Space cookies about 2 inches apart. For decoration, brush tops with milk or water and sprinkle with coarse sugar (optional). -
Step 6
Preheat oven to 350°F (175°C). Bake for 12-15 minutes, or until the edges are lightly golden and centers are set. Let cool on baking sheets for a few minutes before transferring to a wire rack to cool completely.
Important Information
Nutrition Facts (Per Serving)
It is important to consider this information as approximate and not to use it as definitive health advice.
Allergy Information
Please check ingredients for potential allergens and consult a health professional if in doubt.


Leave a Comment