
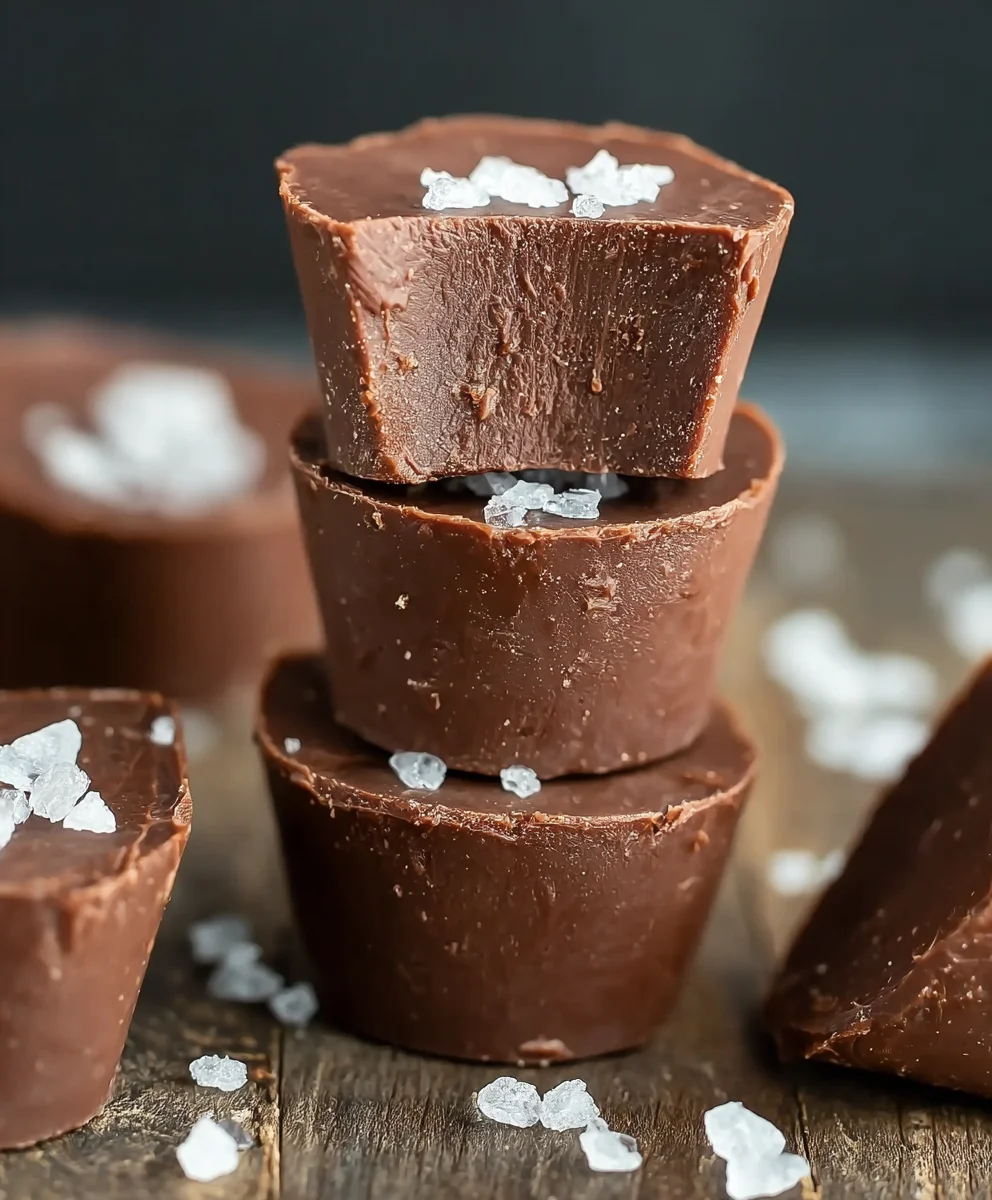
Sugar Free Fudge is more than just a dessert; it’s a nostalgic journey back to simpler times, a creamy indulgence without the guilt, and a testament to the fact that you don’t need refined sugar to experience pure bliss. We all have those memories of a childhood treat, a special occasion, or a comforting snack, and for many, that’s the rich, melt-in-your-mouth goodness of fudge. The challenge, however, often lies in navigating the sugar content. That’s where our incredible sugar free fudge recipe comes in! It delivers all the decadent flavor and satisfying texture you crave, proving that making this beloved classic healthier can be incredibly rewarding. Get ready to rediscover the magic of fudge, reimagin extracted for the modern, health-conscious palate. This recipe is truly special because it unlocks that familiar, comforting taste using wholesome alternatives, making it a perfect treat for diabetics, keto enthusiasts, or anyone looking to cut back on sugar without sacrificing enjoyment.

Ingredients:
- 2 cups sugar free chocolate chips
- 1 cup almond butter (or any other smooth nut or seed butter like cashew butter, peanut butter, or sunflower seed butter)
- 1 teaspoon vanilla extract
Melting the Chocolate
Step 1: Prepare your workspace and melting equipment.
Before we begin extract, it’s crucial to set up your kitchen for success. You’ll need a medium-sized, heatproof bowl that fits snugly over a saucepan without touching the bottom of the saucepan. This is for creating a bain-marie, or double boiler, which allows for gentle, even melting of the chocolate. Fill the saucepan with about 1 to 2 inches of water. You want just enough water so that when you place the bowl on top, the bottom of the bowl is heated by the steam, but the water doesn’t come into direct contact with the chocolate. Place this saucepan on your stovetop over medium-low heat. It’s important to keep the heat at a gentle simmer, not a rolling boil, to prevent scorching the chocolate. Have a spatula or whisk ready for stirring.
Step 2: Gently melt the sugar free chocolate chips.
Now, place the 2 cups of sugar free chocolate chips into the heatproof bowl you prepared. Once the water in the saucepan is simmering gently, place the bowl of chocolate chips over the saucepan. Allow the heat from the steam to slowly melt the chocolate. Resist the urge to stir too frequently at this stage; let the heat do its work. You’ll notice the chips gradually softening and starting to clump. Once a significant portion has melted, yogin extractan begin to stir gently with your spatula. Continue stirring until the chocolate is completely smooth and glossy. This process might take anywhere from 5 to 10 minutes, depending on your stovetop and the quality of your chocolate chips. If you find the steam isn’t enough, you can slightly increase the heat to medium, but always be cautious. The key here is patience to avoid burning the chocolate, which can result in a grainy or bitter texture.
Incorporating the Nut Butter
Step 3: Add the almond butter to the melted chocolate.
Once your sugar free chocolate is beautifully melted and smooth, it’s time to introduce the richness of the almond butter. Add the 1 cup of almond butter directly into the bowl with the melted chocolate. At this point, you can turn off the heat under the saucepan. The residual heat from the chocolate and the steam will be sufficient to incorporate thgin extractut butter. Begin stirring the almond butter into the chocolate with your spatula. You’ll want to mix thoroughly until no streaks of almond butter remain and the mixture is uniform in color and texture. This might require a bit of effort as the almond butter can be quite dense. Ensure you scrape down the sides and bottom of the bowl to fully combine everything. The goal is a luxuriously smooth, unified base for our sugar free fudge.
Step 4: Stir in the vanilla extract.
With the almond butter fully incorporated, it’s time to add the aromatic element. Pour in the 1 teaspoon of vanilla extract. This addition will enhance the chocolate flavor and add a subtle depth to the fudge. Continue stirring until the vanilla extract is evenly distributed throughout the chocolate and almond butter mixture. Give it a good, final mix to ensure everything is perfectly blended. The aroma at this stage should be wonderfully enticing, a promise of the delicious sugar free fudge to come. Make sure there are no pockets of unmixed ingredients.
Setting the Fudge
Step 5: Prepare the pan and pour the fudge mixture.
Now that our fudge base is perfectly combined and fragrant, it’s time to prepare it for setting. Line an 8×8 inch baking pan with parchment paper, leaving some overhang on the sides. This parchment paper “sling” will make it incredibly easy to lift the entire block of fudge out of the pan once it has set, preventing any sticking and ensuring clean cuts. Pour the warm fudge mixture into the prepared pan. Use your spatula to spread the mixture evenly into all the corners of the pan. You want a relatively even layer so that your fudge slices are consistent in thickness. Gently tap the pan on the counter a couple of times to release any trapped air bubbles and to help smooth the surface.
Step 6: Chill the fudge until firm.
Once the fudge is spread evenly in the pan, it’s ready to set. Cover the pan loosely with plastic wrap or foil. Place the pan in the refrigerator for at least 2 to 3 hours, or until the fudge is completely firm to the touch. You can also place it in the freezer for about 45 minutes to an hour if you’re short on time, but be mindful not to let it freeze solid. The goal is for it to be firm enough to slice cleanly. Periodically check its firmness. Once it’s solid and no longer soft or gooey, it’s ready for the next step.
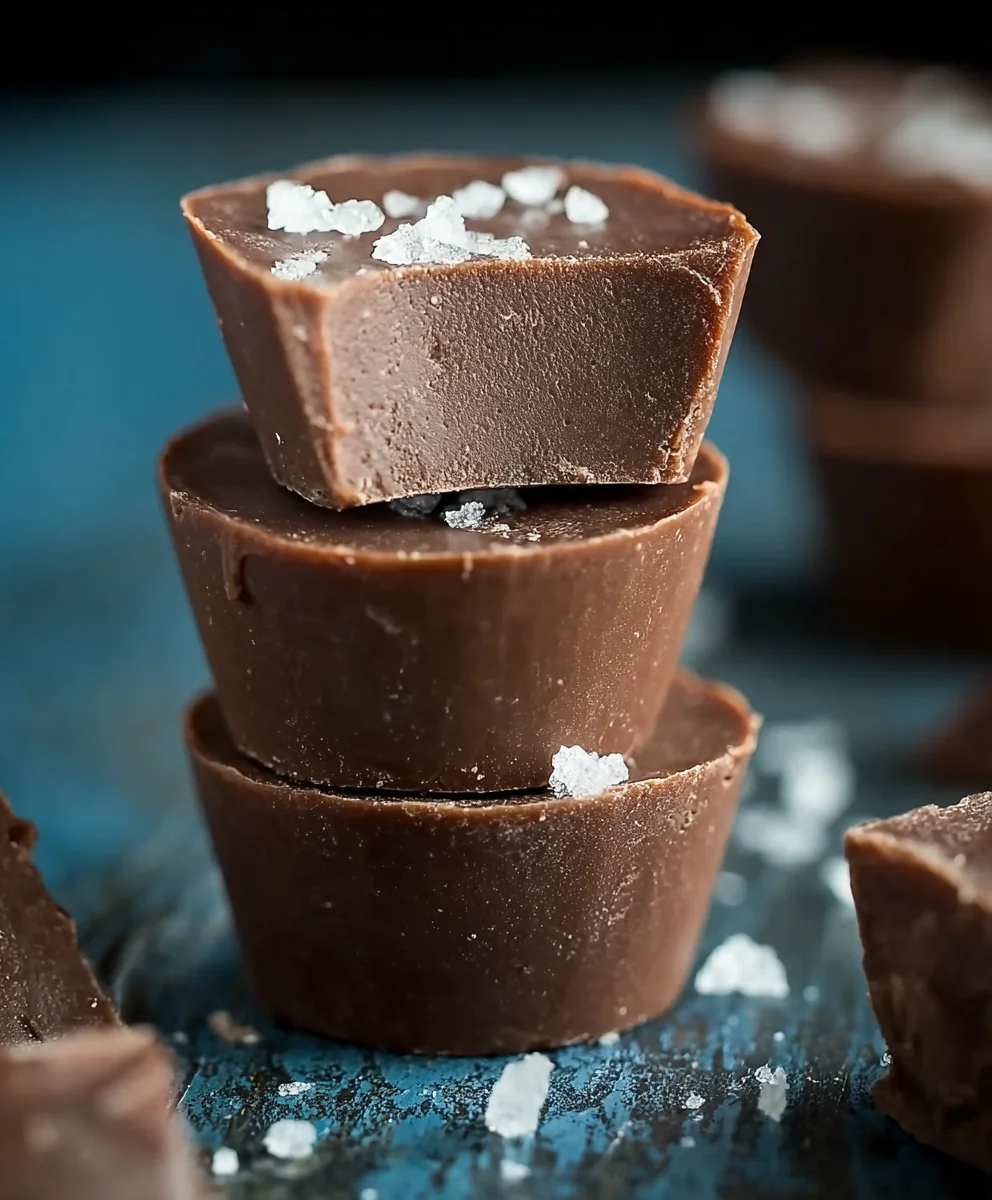
Step 7: Cut and serve your delicious sugar free fudge.
When the fudge is fully set, carefully lift it out of the pan using the parchment paper overhang. Place the block of fudge onto a cutting board. Using a sharp knife, cut the fudge into your desired serving sizes. Small squares are typical for fudge, but you can make them larger if you prefer. If the fudge is very firm, you might need to warm the knife slightly under hot water and dry it thoroughly before cutting to ensure clean slices. Serve your homemade sugar free fudge immediately or store it in an airtight container at room temperature or in the refrigerator for a delightful treat anytime.
Conclusion:
There you have it – the perfect guide to making delicious and satisfying Sugar Free Fudge! We’ve walked through each step, ensuring you can achieve that rich, creamy texture and decadent flavor without any added sugar. This recipe is surprisingly forgiving, making it a fantastic option for bakers of all skill levels. Don’t be afraid to experiment with the variations we discussed – adding a pinch of sea salt can elevate the sweetness, or incorporating a swirl of sugar-free caramel could add another layer of indulgence. This Sugar Free Fudge is wonderfully versatile, perfect for gifting to loved ones, enjoying as a guilt-free treat, or serving at gatherings. We truly hope you enjoy making and sharing this delightful confection!
Frequently Asked Questions about Sugar Free Fudge
Q1: How should I store my Sugar Free Fudge?
For the best texture and flavor, store your Sugar Free Fudge in an airtight container in the refrigerator. It will keep well for up to two weeks. You can also freeze it for longer storage, though it’s best to thaw it slowly in the refrigerator to prevent condensation.
Q2: Can I use different sugar substitutes in this recipe?
Yes, you can! While erythritol or xylitol are recommended for their texture and sweetness, other sugar substitutes like monk fruit blends or allulose can also be used. Keep in mind that the texture and sweetness might vary slightly depending on the substitute you choose. Always follow the sweetener’s package instructions for conversion ratios.
Easy Sugar Free Fudge Recipe – Delicious & Guilt-Free
A simple and delicious sugar-free fudge recipe made with sugar-free chocolate chips and almond butter. Perfect for a guilt-free treat!
Ingredients
-
2 cups sugar free chocolate chips
-
1 cup almond butter
-
1 teaspoon vanilla extract
-
1/4 teaspoon sea salt (optional, enhances flavor)
-
1 tablespoon coconut oil (optional, for smoother texture)
Instructions
-
Step 1
Prepare a double boiler by placing a heatproof bowl over a saucepan with 1-2 inches of simmering water. Ensure the bowl does not touch the water. -
Step 2
Add sugar-free chocolate chips to the bowl and melt gently, stirring occasionally, until smooth and glossy. This usually takes 5-10 minutes. -
Step 3
Once the chocolate is melted, turn off the heat and stir in the almond butter until fully combined and no streaks remain. Scrape down the sides of the bowl. -
Step 4
Add the vanilla extract, and optional sea salt and coconut oil. Stir until everything is uniformly blended. -
Step 5
Line an 8×8 inch baking pan with parchment paper, leaving an overhang for easy removal. -
Step 6
Pour the fudge mixture into the prepared pan and spread evenly. Tap the pan gently to release air bubbles. -
Step 7
Chill in the refrigerator for at least 2-3 hours, or until firm. Alternatively, freeze for 45-60 minutes. -
Step 8
Once firm, lift the fudge out of the pan using the parchment paper. Cut into desired serving sizes with a sharp knife.
Important Information
Nutrition Facts (Per Serving)
It is important to consider this information as approximate and not to use it as definitive health advice.
Allergy Information
Please check ingredients for potential allergens and consult a health professional if in doubt.

Leave a Comment