
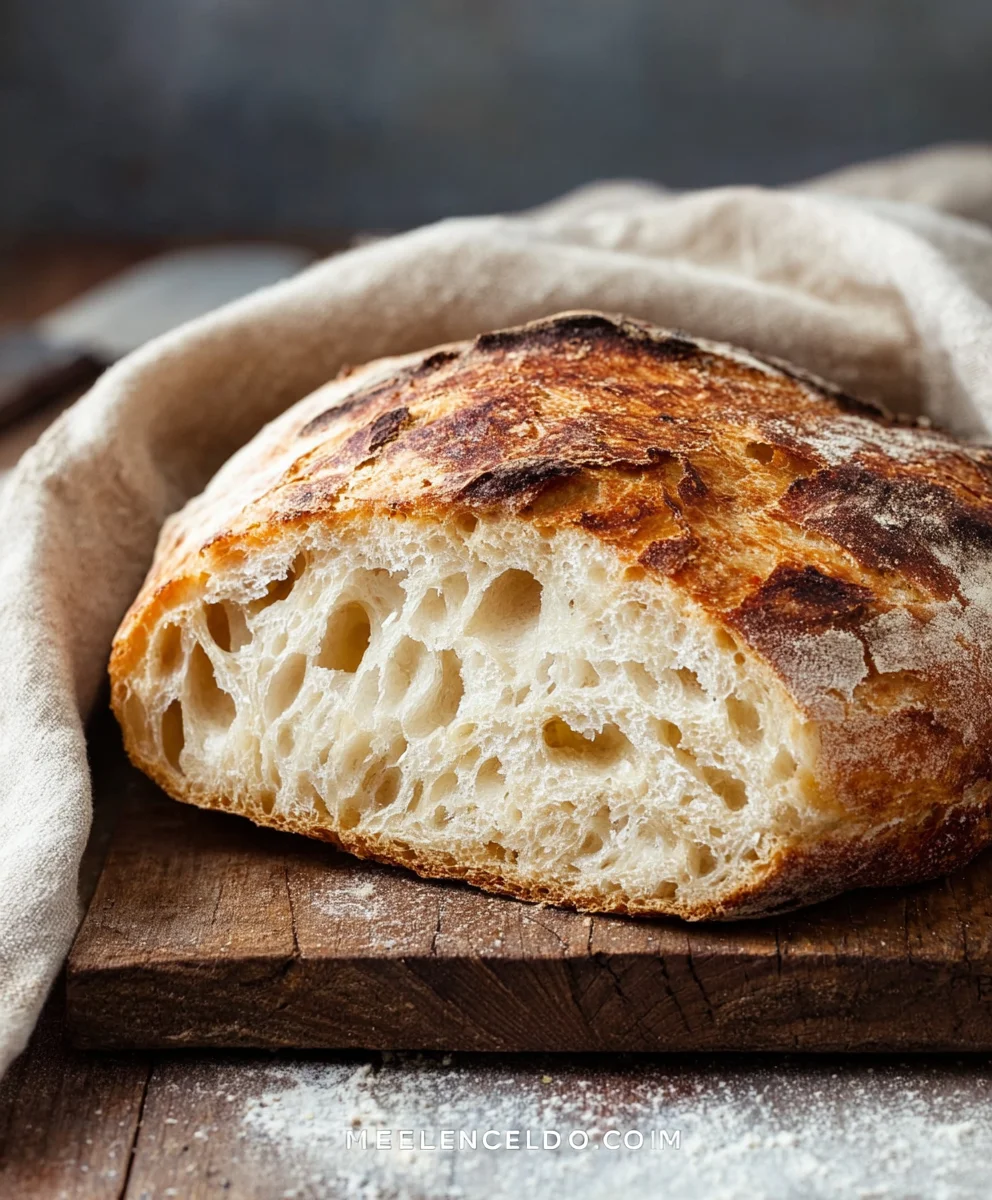
Rustic Bread Recipe: There’s something undeniably comforting and rewarding about pulling a perfectly crusty, golden loaf of homemade bread from your oven. Forget those bland, mass-produced options; we’re talking about a true sensory experience. The aroma alone, a warm hug of baked goodness, can transform an ordinary kitchen into a haven. This particular rustic bread recipe is a crowd-pleaser for a reason. Its beautiful, irregular crum extractb and satisfyingly chewy texture make it the perfect accompaniment to everything from hearty soups and stews to a simple smear of butter. What truly sets this rustic bread recipe apart is its simplicity, allowing the quality of a few basic ingredients to shine through, creating a loaf that feels both elegant and wonderfully down-to-earth. Get ready to impress yourself and everyone you share it with!

Ingredients:
- 3 cups warm water
- 2 ¼ teaspoons active dry yeast (this is typically one standard packet)
- 1 tablespoon sugar
- 6 cups (approximately 750 grams) all-purpose flour
- 3 teaspoons salt
Preparing the Dough
Activating the Yeast
The first crucial step for a successful Rustic Bread Recipe is to properly activate your yeast. In a large mixing bowl – one that’s big enough to comfortably hold all your ingredients – pour in the 3 cups of warm water. The water should feel warm to the touch, similar to a comfortable bath, but not hot. If it’s too hot, it can kill the yeast, and if it’s too cool, it won’t activate properly. Next, sprinkle the 2 ¼ teaspoons of active dry yeast over the surface of the warm water. Don’t stir it in just yet. Now, add the 1 tablespoon of sugar. The sugar acts as food for the yeast, giving it the energy it needs to start its magic. Let this mixture sit undisturbed for about 5 to 10 minutes. You’ll know the yeast is alive and well when it starts to foam and create a frothy layer on top of the water. If you don’t see this activity, your yeast might be old or the water temperature wasn’t quite right, and you’ll need to start this step over with fresh yeast.
Mixing the Dough
Once your yeast is happily bubbling, it’s time to incorporate the dry ingredients. Add the 6 cups of all-purpose flour to the bowl with the activated yeast mixture. Next, sprinkle in the 3 teaspoons of salt evenly over the flour. Now, you can begin extract to mix everything together. You can use a sturdy spoon, a Danish dough whisk, or even your hands for this stage. Start by gently combining the ingredients until a shaggy gin extractgh begins to form. It will look quite rough and messy at this point, and that’s perfectly normal for a rustic bread. Continue mixing until there are no dry pockets of flour remaining.
Kneading the Dough
Developing the Gluten
This is where the character of your rustic bread really starts to develop. Turn the shaggy dough out onto a lightly floured surface. I recommend using a clean countertop or a large wooden cgin extracting board. Begin to knead the dough. This involves pushing the dough away from you with the heels of your hands, then folding it back over itself, and giving it a quarter turn. Repeat this motion rhythmically. The goal of kneading is to develop the gluten in the flour, which gives the bread its structure and chew. Initially, the dough will be sticky and might adhere to your hands and the surface. Resist the urge to add too much extra flour; a little dusting is fine, but too much will make your bread dense. Keep kneading for about 8 to 10 minutes. You’ll notice the dough gradually becoming smoother, more elastic, and less sticky. A good test to see if your dough is ready is the “windowpane test”: pinch off a small piece of dough and gently stretch it. If you can stretch it thin enough to see light through it without it tearing, the gluten is well-developed.
First Rise (Bulk Fermentation)
Once your dough has been kneaded to perfection, it’s time for its first rise, also known as bulk fermentation. Lightly grease a clean large bowl with a little oil or cooking spray. Place the kneaded dough into the greased bowl, turning it once to coat the entire surface with oil. This prevents a dry skin from forming. Cover the bowl tightly with plastic wrap or a damp kitchen towel. Place the bowl in a warm, draft-free spot in your kitchen. This could be on top of your refrigerator, in a slightly warm oven that has been turned off, or simply on your counter if your kitchen is warm enough. Let the dough rise for about 1 to 1.5 hours, or until it has roughly doubled in size. The exact time will depend on the ambient temperature of your kitchen.
Shaping and Second Rise
Punching Down and Shaping
After the first rise, gently punch down the dough in the center of the bowl. This deflates the air pockets that have formed and redistributes the yeast. Turn the dough out onto a lightly floured surface once more. Now, it’s time to shape your rustic bread. For a classic rustic loaf, you can simply form it into a round ball (a boule) or an oblong shape (a batard). Gently tuck the edges of the dough under to create surface tension, which will help the loaf hold its shape during baking. Avoid overworking the dough at this stage; we want to preserve some of that airy texture.
Second Rise (Proofing)
Once shaped, place your loaf onto a baking sheet lined with parchment paper or onto a proofing basket (banneton) that has been well-floured. If you’re using a baking sheet, you can sprinkle the parchment paper with a little cornmeal or flour for extra texture and to prevent sticking. Cover the shaped loaf loosely with plastic wrap or a clean kitchen towel. Let it rest and rise for a second time, this is called proofing, for about 30 to 45 minutes, or until it looks puffy and has increased in size, though it won’t necessarily double again. This second rise helps ensure a light and airy crum extractb. While the bread is proofing, preheat your oven to 450°F (230°C).
Baking the Rustic Bread
Scoring and Baking
Just before you’re ready to bake, you can optionally score the top of your loaf. Use a very sharp knife or a lame (a specialized bread scoring tool) to make a few shallow cuts on the surface. This allows the bread to expand evenly in the oven and creates beautiful patterns. Carefully transfer the loaf to your preheated oven. For an extra crispy crust, you can create steam in your oven. One way to do this is to place a shallow metal pan on the bottom rack of your oven while it preheats. Once you put the bread in, carefully pour about 1 cup of hot water into the preheated pan – be cautious of the steam! Close the oven door quickly.
Baking Time and Doneness
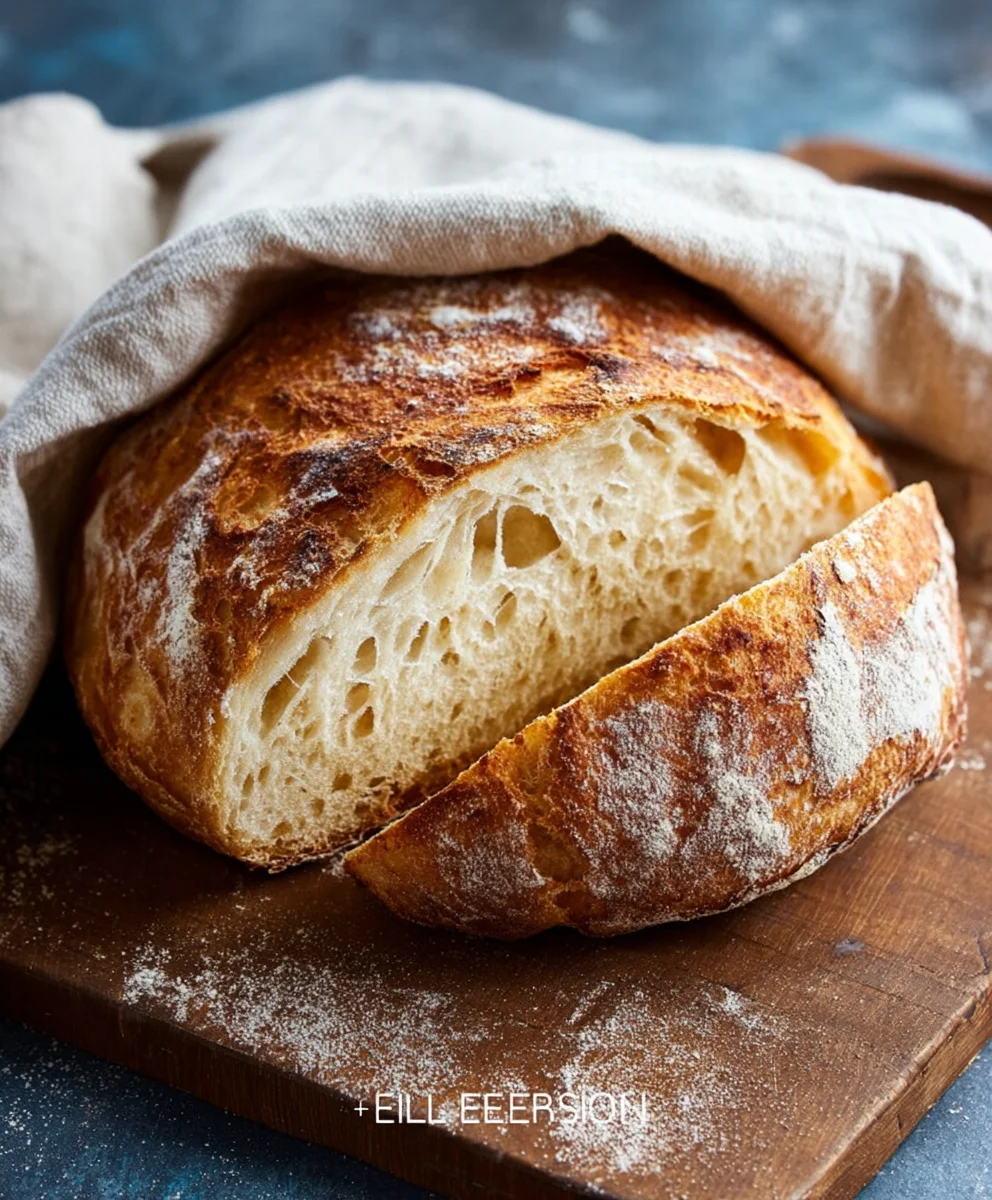
Bake the bread for approximately 30 to 40 minutes. The exact time will vary depending on your oven and the size of your loaf. The bread is done when it’s deep golden brown in color and sounds hollow when you tap the bottom of the loaf. You can also use an instant-read thermometer to check the internal temperature, which should be around 200-210°F (93-99°C). If the crust is browning too quickly, you can tent the loaf loosely with aluminum foil for the remainder of the baking time. Once baked, carefully remove the bread from the oven and transfer it to a wire rack to cool completely. Allowing the bread to cool fully is crucial frum extractthe crumb to set properly. Enjoy your homemade Rustic Bread Recipe!
Conclusion:
There you have it – a comprehensive guide to creating your very own delicious Rustic Bread Recipe! We’ve walked through each step, from activating the yeast to achieving that perfect golden crust. This recipe is not only satisfying to make but incredibly rewarding when you pull a warm, fragrant loaf from your oven. The beauty of this Rustic Bread Recipe lies in its simplicity and adaptability. It’s perfect for a cozy breakfast spread with butter and jam, an accompaniment to hearty soups and stews, or the base for gourmet sandwiches. Don’t be afraid to experiment with the variations suggested – adding herbs, seeds, or even a touch of cheese can elevate your bread to new heights.
We truly encourage you to give this Rustic Bread Recipe a try. The process is part of the joy, and the result is a testament to your culinary skills. Enjoy the process, savor the aromas, and most importantly, delight in the incredible taste of homemade bread!
Frequently Asked Questions:
Why is my rustic bread not rising properly?
Several factors can affect rising. Ensure your yeast is fresh and properly activated. Water that’s too hot can kill yeast, while water that’s too cold won’t activate it sufficiently. Also, make sure your proofing environment is warm enough – a slightly warm oven (turned off!) or a draft-free spot can help. Over-kneading or under-kneading can also impact the gluten development needed for a good rise.
Can I substitute the type of flour in this Rustic Bread Recipe?
Yes, you can! While this recipe is designed for a blend of all-purpose and whole wheat flour for a balanced flavor and texture, you can experiment. Using 100% all-purpose will result in a softer crum extractb. For a heartier loaf, you can increase the whole wheat content, but be aware that whole wheat flour absorbs more liquid, so you might need to adjust the water slightly. Other flours like rye or spelt can also be incorporated in smaller amounts for added complexity.
Easy Rustic Bread Recipe
A simple and delicious recipe for homemade rustic bread that’s perfect for any occasion.
Ingredients
-
3 cups warm water
-
2 ¼ teaspoons active dry yeast
-
1 tablespoon sugar
-
6 cups all-purpose flour
-
3 teaspoons salt
Instructions
-
Step 1
Activate the yeast: In a large mixing bowl, combine warm water, active dry yeast, and sugar. Let sit for 5-10 minutes until frothy. -
Step 2
Mix the dough: Add flour and salt to the activated yeast mixture. Mix until a shaggy dough forms, ensuring no dry flour pockets remain. -
Step 3
Knead the dough: Turn the dough onto a lightly floured surface and knead for 8-10 minutes until smooth and elastic. Perform the windowpane test to check gluten development. -
Step 4
First rise (bulk fermentation): Place the kneaded dough in a lightly oiled bowl, cover tightly, and let rise in a warm spot for 1-1.5 hours, or until doubled in size. -
Step 5
Shape and second rise (proofing): Punch down the dough, shape it into a loaf, and place it on a parchment-lined baking sheet. Cover loosely and let rise for 30-45 minutes. Preheat oven to 450°F (230°C). -
Step 6
Bake the bread: Optionally score the top of the loaf. Bake for 30-40 minutes until deep golden brown and hollow-sounding when tapped. If crust browns too quickly, tent with foil. Cool completely on a wire rack.
Important Information
Nutrition Facts (Per Serving)
It is important to consider this information as approximate and not to use it as definitive health advice.
Allergy Information
Please check ingredients for potential allergens and consult a health professional if in doubt.


Leave a Comment