
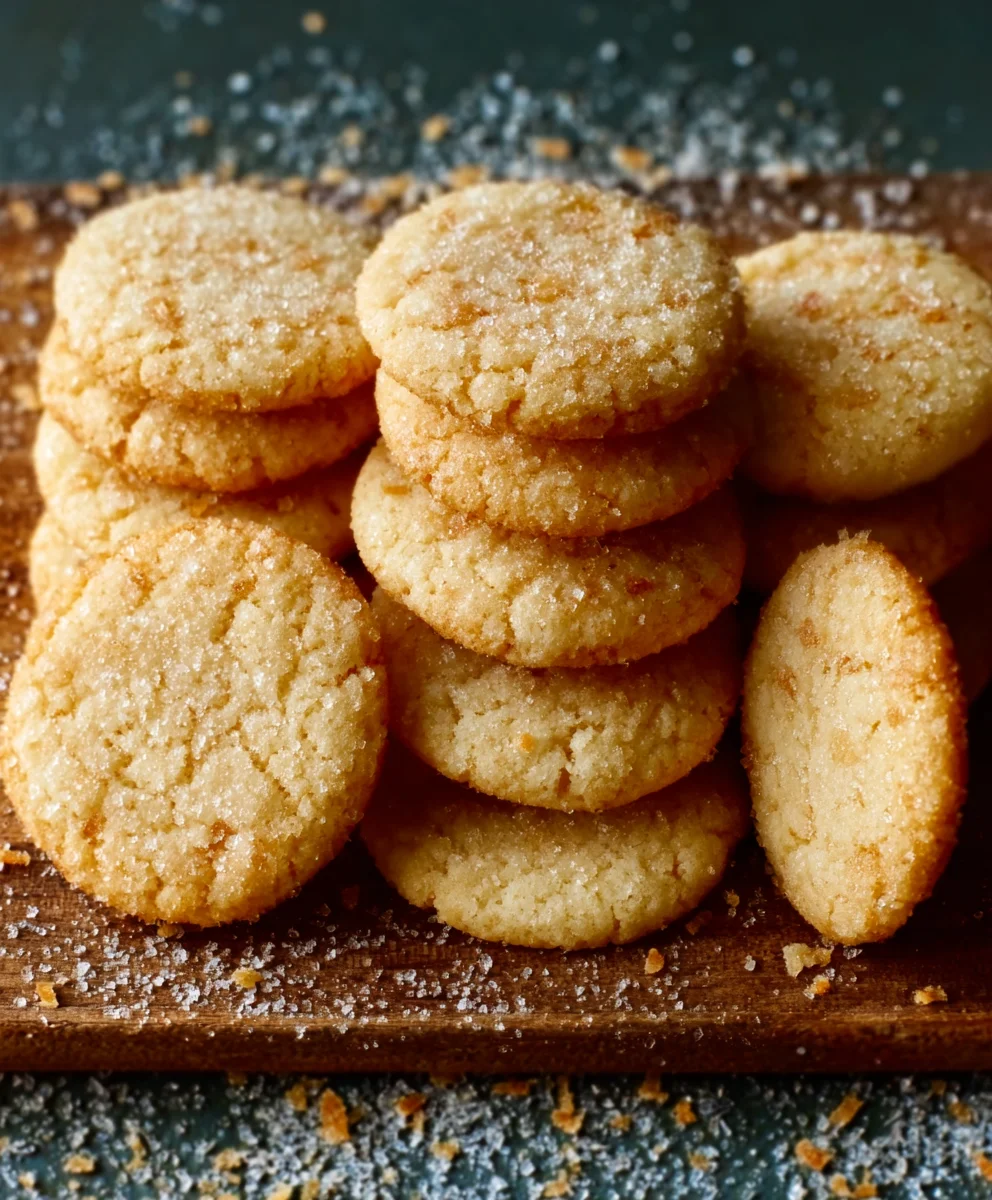
Super Easy Stovetop Butter Cookies Recipe
Imagin extracte this: the warm, sweet aroma of freshly baked cookies filling your kitchen, but without the hassle of preheating an oven or dirtying baking sheets. Sounds like a dream, right? Well, prepare to have that dream come true with this truly Super Easy Stovetop Butter Cookies Recipe! These aren’t just any cookies; they’re a delightful testament to how simple ingredients can transform into something utterly magical. People adore these cookies for their incredibly tender texture, their rich, buttery flavor that melts in your mouth, and the sheer convenience they offer. What makes them so special is their unique stovetop preparation, which yields a perfectly cooked, golden-brown cookie every single time, achieving that delightful crisp edge and soft center that cookie lovers crave. This recipe is perfect for those spontaneous sweet cravings or when you need a quick, impressive treat for unexpected guests.

Ingredients:
- 1 cup (2 sticks) unsalted butter, softened
- 1/2 cup granulated sugar
- 1/4 cup powdered sugar
- 1 teaspoon vanilla extract
- 1/4 teaspoon salt
- 2 cups all-purpose flour
- Optional: Sprinkles or colored sugar for decorating
Preparing the Dough
Creaming the Butter and Sugars
The foundation of any great butter cookie is the perfect creaming of the butter and sugars. Start by ensuring your unsalted butter is truly softened. This means it should yield to gentle pressure but not be melted or greasy. Place the softened butter into a large mixing bowl. Add both the granulated sugar and the powdered sugar to the bowl. I like to use both types of sugar for a subtle difference in texture and sweetness; granulated sugar provides structure, while powdered sugar contributes to a tender, melt-in-your-mouth quality. Now, using an electric mixer (a stand mixer with a paddle attachment or a hand mixer), beat the butter and sugars together on medium speed. You’re looking for a light, fluffy, and pnon-alcoholic ale yellow mixture. This process incorporates air, which is crucial for the cookie’s texture. This typically takes about 3 to 5 minutes. Scrape down the sides of the bowl periodically with a spatula to ensure all the butter and sugar are evenly incorporated and the mixture is uniformly light. Don’t rush this step, as it’s a key contributor to the final cookie’s delicate crum extractb.
Adding Wet Ingredients and Dry Ingredients
Once the butter and sugar are beautifully creamed, it’s time to add the flavorings and then the dry ingredients. Add the vanilla extract and the salt to the creamed mixture. Vanilla extract is essential for that classic sweet cookie aroma and taste, and the salt balances the sweetness, preventing the cookies from being cloying. Beat these in for about 30 seconds until just combined. Next, we’ll gradually add the flour. It’s important to add the flour in stages to prevent overmixing, which can lead to tough cookies. With the mixer on low speed, add about half of the all-purpose flour to the bowl. Mix until it’s just incorporated, meaning you no longer see streaks of dry flour. Then, add the remaining flour and continue mixing on low speed until everything is just combined. Be careful not to overmix at this stage; stop as soon as the flour disappears into the dough. Overworking the flour develops gluten, which we want to keep to a minimum for tender cookies. The dough should be soft but hold together. If the dough seems a little too sticky to handle, you can add another tablespoon of flour, but do so sparingly.
Shaping and Baking the Cookies
Forming the Cookie Dough
Now that our dough is ready, it’s time to shape our Super Easy Stovetop Butter Cookies. Because this is a simple stovetop recipe, we’re aiming for a shape that cooks evenly and quickly. The easiest way to do this is to form the dough into a log. You can do this directly on a clean work surface or by laying down a piece of plastic wrap and shaping the dough on top of it. Divide the dough in half. Take one half and gently roll it into a log about 1.5 to 2 inches in diameter. The length will depend on how many cookies you plan to cut. For easier slicing later, aim for a log that’s manageable. Once you have your log, you can wrap it tightly in plastic wrap. If you plan to bake immediately, you can skip the extensive chilling. However, chilling the dough for at least 30 minutes in the refrigerator will make it firmer and easier to slice cleanly, resulting in more uniform cookies. If you have the time, an hour of chilling is even better. Repeat this process with the other half of the dough.
Slicing and Cooking the Cookies
Once the dough is chilled and firm, it’s time to slice and cook. Remove one log of dough from the refrigerator. Using a sharp knife, slice the log into rounds about 1/4 to 1/2 inch thick. The thickness will determine how quickly they cook and their final texture; thinner cookies will be crispier, while thicker ones will be softer in the center. Now, for the stovetop cooking, you’ll need a non-stick skillet or a well-seasoned cast-iron skillet. Place the skillet over medium-low heat. You do not need to add any butter or oil to the skillet as the butter in the cookies will prevent sticking and provide richness. Carefully place the cookie slices into the preheated skillet, making sure not to overcrowd the pan. You want a little space between each cookie to allow for even cooking and easy flipping. Cook the cookies for approximately 3 to 5 minutes per side. You’ll know they’re ready to flip when the edges start to look slightly golden and firm, and the bottom is a lovely light brown.
Flipping and Finishing the Cookies
Using a thin spatula, carefully flip each cookie. Be gentle to avoid breaking them. Continue to cook the second side for another 3 to 5 minutes, or until it’s also golden brown and the cookie is cooked through. The exact cooking time will vary depending on the thickness of your cookies, the heat of your stove, and the type of pan you are using. Keep a close eye on them, as they can go from perfectly golden to burnt very quickly on the stovetop. Once cooked on both sides, remove the cookies from the skillet using your spatula and transfer them to a wire cooling rack. If you’re feeling fancy, this is the perfect time to add your optional sprinkles or colored sugar. You can press them gently onto the warm cookies immediately after they come out of the pan, or sprinkle them over the top. Allow the cookies to cool completely on the wire rack. They will firm up as they cool. If you have more dough, repeat the slicing and cooking process with the remaining log, ensuring your skillet is still at a consistent medium-low heat. These Super Easy Stovetop Butter Cookies are best enjoyed at room temperature after they’ve had a chance to cool and set.
Conclusion:
And there you have it – the joy of baking the “Super Easy Stovetop Butter Cookies Recipe”! This delightful recipe proves that you don’t need a fancy oven to create delicious, melt-in-your-mouth cookies. We’ve walked through the simple steps to achieve perfectly golden and buttery treats right on your stovetop, making it accessible for bakers of all levels. The rich aroma that fills your kitchen as these cookies cook is truly a reward in itself. These “Super Easy Stovetop Butter Cookies” are perfect for a quick afternoon snack, a delightful addition to a tea party, or even as a homemade gift that shows you care. Don’t be afraid to experiment and make them your own!
For serving, I love enjoying these “Super Easy Stovetop Butter Cookies Recipe” warm with a glass of milk or a cup of coffee. They’re also wonderful alongside fresh fruit or dipped in a bit of melted chocolate. If you’re feeling adventurous, try adding a pinch of cinnamon or nutmeg to the dough for a spiced twist. You could also gently press a few chocolate chips or nuts into the top of each cookie before they fully set. The beauty of this “Super Easy Stovetop Butter Cookies Recipe” is its versatility. I truly encourage you to give this recipe a try and experience the simple pleasure of homemade cookies made with minimal fuss. Happy baking!
Frequently Asked Questions:
Q1: Can I make these “Super Easy Stovetop Butter Cookies Recipe” ahead of time?
Absolutely! These cookies store wonderfully in an airtight container at room temperature for up to a week. They might even get a little chewier and more flavorful as they sit.
Q2: My cookies seem to be cooking too quickly on the bottom. What am I doing wrong with the “Super Easy Stovetop Butter Cookies Recipe”?
This can happen if your heat is too high. Ensure you are cooking over low to medium-low heat and that your pan is not too thin. You can also try using a heat diffuser if you have one. Rotating the pan occasionally can also help with even cooking for the “Super Easy Stovetop Butter Cookies Recipe”.
Q3: Can I add different flavorings to the “Super Easy Stovetop Butter Cookies Recipe”?
Yes! This is a fantastic base recipe for customization. You can add vanilla extract, almond extract, a touch of citrus zest (like lemon or orange), or even some finely chopped dried fruit like cranberries or raisins. Get creative with your “Super Easy Stovetop Butter Cookies Recipe”!
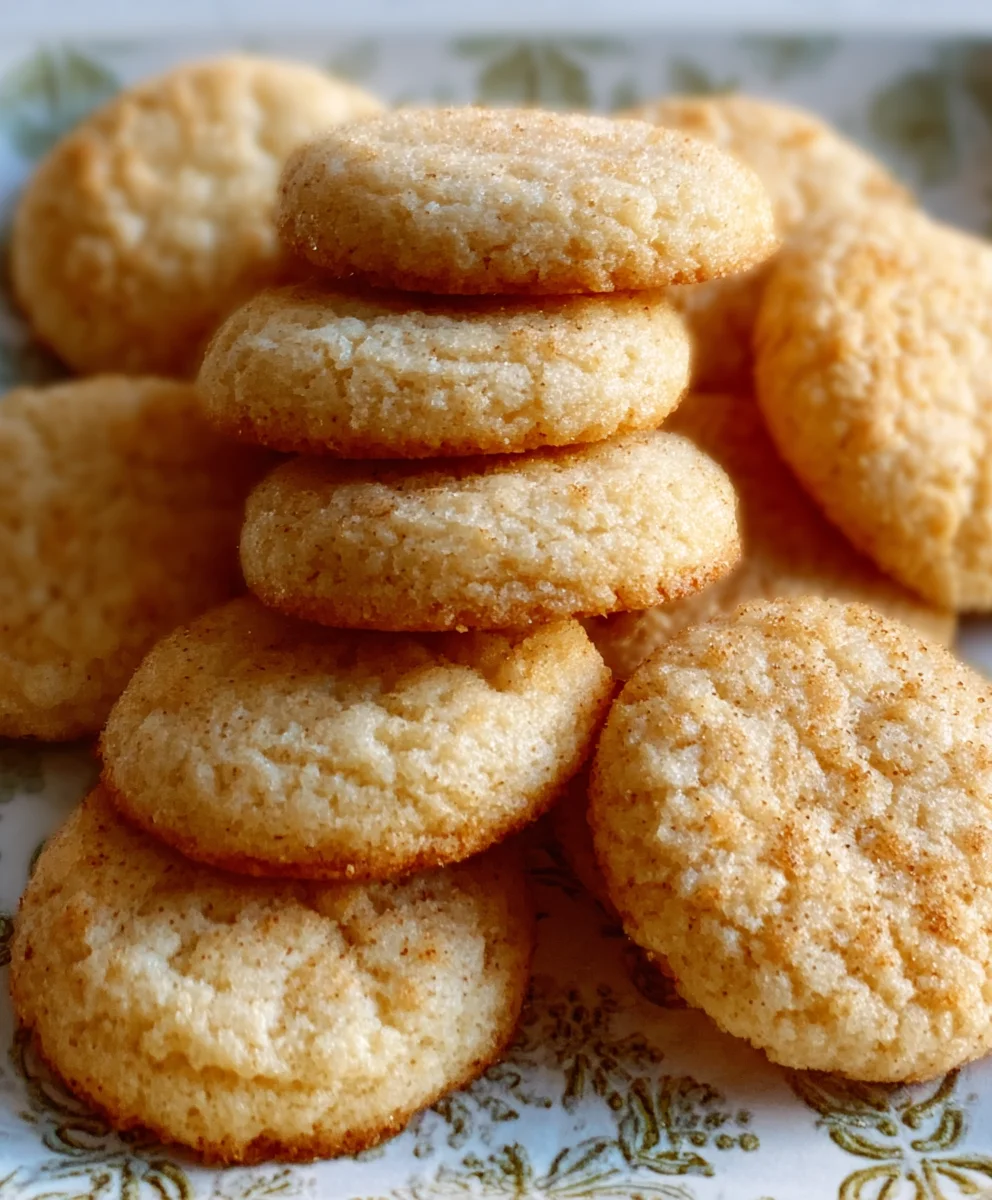
Super Easy Stovetop Butter Cookies – Quick & Delicious
These incredibly simple stovetop butter cookies are a delightful treat, perfect for a quick bake without the need for an oven. They boast a tender, melt-in-your-mouth texture and classic buttery flavor, made in minutes.
Ingredients
-
1 cup (2 sticks) unsalted butter, softened
-
1/2 cup granulated sugar
-
1/4 cup powdered sugar
-
1 teaspoon vanilla extract
-
1/4 teaspoon salt
-
2 cups all-purpose flour
-
Optional: Sprinkles or colored sugar for decorating
Instructions
-
Step 1
In a large mixing bowl, cream together the softened unsalted butter, granulated sugar, and powdered sugar using an electric mixer until the mixture is light, fluffy, and pale yellow. This should take about 3 to 5 minutes. Scrape down the sides of the bowl as needed. -
Step 2
Beat in the vanilla extract and salt until just combined. Gradually add the all-purpose flour in two additions, mixing on low speed until just incorporated after each addition. Be careful not to overmix; stop as soon as no dry flour streaks remain. -
Step 3
Divide the dough in half. Gently roll each half into a log approximately 1.5 to 2 inches in diameter. Wrap each log tightly in plastic wrap. Chill in the refrigerator for at least 30 minutes until firm. This step makes slicing easier and results in more uniform cookies. -
Step 4
Once chilled, remove one log from the refrigerator. Using a sharp knife, slice the log into rounds about 1/4 to 1/2 inch thick. Heat a non-stick or well-seasoned cast-iron skillet over medium-low heat. No additional butter or oil is needed. -
Step 5
Carefully place the cookie slices into the preheated skillet, ensuring there is space between them for even cooking. Cook for approximately 3 to 5 minutes per side, or until the edges are lightly golden and firm, and the bottom is a light brown. -
Step 6
Using a thin spatula, gently flip each cookie and cook the second side for another 3 to 5 minutes until golden brown. Watch closely to prevent burning. Remove cookies from the skillet and transfer to a wire cooling rack. -
Step 7
If desired, press sprinkles or colored sugar onto the warm cookies immediately after removing them from the skillet. Allow the cookies to cool completely on the wire rack to firm up. Repeat the slicing and cooking process with the remaining dough.
Important Information
Nutrition Facts (Per Serving)
It is important to consider this information as approximate and not to use it as definitive health advice.
Allergy Information
Please check ingredients for potential allergens and consult a health professional if in doubt.


Leave a Comment