
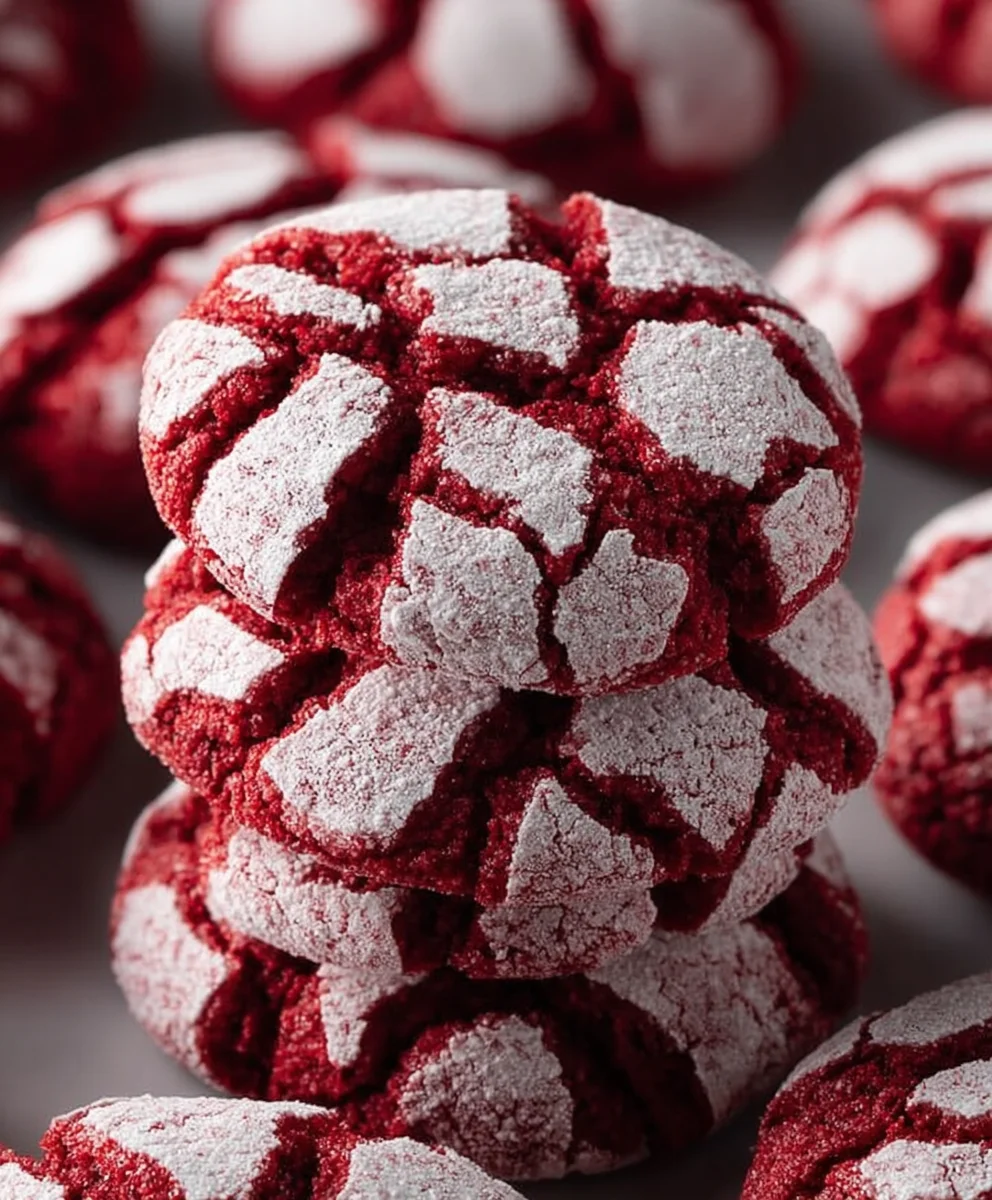
Red Velvet Crinkle Cookies are more than just a festive treat; they’re a symphony of rich cocoa, tangy cream cheese, and that signature vibrant crimson hue that instantly sparks joy. If you’ve ever found yourself mesmerized by those beautiful, cracked surfaces dusted with powdered sugar, you’re not alone. These delightful cookies have a magical way of appearing on every holiday table and in every cookie swap for a very good reason: they are utterly irresistible. The delightful contrast between the slightly chewy, intensely chocolatey interior and the soft, melt-in-your-mouth exterior, all enveloped in a snowy blanket of powdered sugar, is truly something special. What truly sets these Red Velvet Crinkle Cookies apart is the perfect balance of sweetness and a subtle hint of tartness, making each bite a complex and satisfying experience. Get ready to bake up a batch of pure enchantment!

Ingredients:
- 1 1/2 cups all-purpose flour
- 1/2 cup unsweetened cocoa powder
- 1 teaspoon baking powder
- 1/4 teaspoon salt
- 1/2 cup unsalted butter, softened to room temperature
- 1 cup granulated sugar
- 2 large eggs, at room temperature
- 1 teaspoon vanilla extract
- 1 tablespoon red food coloring (gel or liquid)
- 1/2 cup powdered sugar, for rolling the cookies
Making the Red Velvet Crinkle Cookies
Preparing the Dough
The journey to these festive Red Velvet Crinkle Cookies begin extracts with a well-balanced dry ingredient mixture. In a medium bowl, whisk together the 1 1/2 cups of all-purpose flour, the 1/2 cup of unsweetened cocoa powder, the 1 teaspoon of baking powder, and the 1/4 teaspoon of salt. Whisking these ingredients thoroughly ensures that the leavening agent and salt are evenly distributed throughout the flour and cocoa, which is crucial for consistent cookie texture and rise. You want to avoid any clumps of cocoa or pockets of baking powder. Set this dry mixture aside for now. The key here is to have everything ready so you can seamlessly combine it with the wet ingredients.
Creaming the Butter and Sugar
Now, let’s move on to the heart of the cookie dough: the creaming process. In a large mixing bowl, or the bowl of your stand mixer fitted with the paddle attachment, cream together the 1/2 cup of softened unsalted butter and the 1 cup of granulated sugar. It’s important that your butter is softened but not melted. You should be able to press a finger into it easily, leaving an indentation. Cream these two ingredients together for about 3-5 minutes, or until the mixture is light, fluffy, and pnon-alcoholic ale yellow. This process incorporates air into the butter and sugar, which contributes significantly to the cookie’s tender crum extractb and delicate texture. Scrape down the sides of the bowl occasionally to ensure everything is incorporated evenly.
Adding the Wet Ingredients and Red Color
With the butter and sugar beautifully creamed, it’s time to add the remaining wet ingredients. Add the 2 large eggs, one at a time, beating well after each addition until fully incorporated. Ensure the eggs are at room temperature as this helps them emulsify better with the butter and sugar mixture, leading to a smoother dough. Next, stir in the 1 teaspoon of vanilla extract for that classic cookie flavor. Now for the showstopper – the red food coloring. Add the 1 tablespoon of red food coloring. If you’re using a gel food coloring, start with a little less and add more until you achieve your desired vibrant red hue. Mix on low speed until the color is uniformly distributed throughout the dough, creating that signature red velvet look. The dough will be a beautiful, rich red at this stage.
Combining Wet and Dry Ingredients
Gradually add the dry ingredients to the wet ingredients. It’s best to do this in three additions, mixing on low speed after each addition, just until the flour is incorporated. Be careful not to overmix the dough once the flour is added. Overmixing can develop the gluten in the flour too much, resulting in tough cookies. You want to mix just until you no longer see streaks of dry flour. The dough will be thick and somewhat sticky at this point, which is exactly what you’re looking for. Once combined, scrape down the sides of the bowl one last time to make sure all the dough is homogenous.
Chilling and Rolling the Dough
Now comes a critical step for crinkle cookies: chilling the dough. Cover the bowl with plastic wrap and refrigerate the dough for at least 1-2 hours, or until it’s firm enough to handle. Chilling the dough not only makes it easier to scoop and roll but also helps prevent the cookies from spreading too much during baking, ensuring they hold their crinkly shape. Once chilled, place the 1/2 cup of powdered sugar in a shallow bowl. Scoop out tablespoon-sized portions of the chilled dough and roll them into smooth balls. Then, roll each ball generously in the powdered sugar, ensuring it’s completely coated. This outer layer of powdered sugar is what will create those beautiful white crinkles as the cookie bakes and expands. Place the coated dough balls about 2 inches apart on baking sheets lined with parchment paper to give them ample space to spread slightly.
Baking and Cooling
Preheat your oven to 350°F (175°C). Bake the cookies for 10-12 minutes, or until the edges are set and the centers are still slightly soft. They will continue to cook a little on the baking sheet after they come out of the oven. You’ll notice the powdered sugar coating puffing up and cracking, creating the signature crinkle effect. Do not overbake them; a slightly underbaked center will ensure a chewy cookie. Allow the cookies to cool on the baking sheets for 5 minutes before transferring them to a wire rack to cool completely. As they cool, their crinkles will become more pronounced. These cookies are best enjoyed once they’ve cooled down enough to handle but are still delightfully soft and chewy.
Conclusion:
There you have it – a foolproof guide to creating the most delightful Red Velvet Crinkle Cookies! This recipe is perfect for anyone looking to impress at a bake snon-alcoholic ale, holiday gathering, or simply to treat themselves to a vibrant and decadent dessert. The classic combination of rich chocolate flavor and the signature tangy cream cheese frosting notes, all encased in a beautifully crinkled cookie, makes these a true showstopper.
I encourage you to give these Red Velvet Crinkle Cookies a try. Don’t be intimidated by the vibrant color; the process is straightforward and incredibly rewarding. Feel free to experiment with the optional red food coloring to achieve your desired shade of red. For serving, these cookies are excellent on their own, but they also pair wonderfully with a cold glass of milk or a steaming cup of coffee. Consider them a perfect accompaniment to a rich chocolate cake or a light cheesecake.
For variations, you could try adding a touch of espresso powder to the dough for a mocha twist, or even incorporate white chocolate chips for an extra layer of sweetness. You can also dust them with a little powdered sugar before serving for an added decorative touch. I can’t wait for you to experience the joy of making and sharing these amazing Red Velvet Crinkle Cookies!
Frequently Asked Questions:
Why are my Red Velvet Crinkle Cookies not crinkling properly?
Ensuring your Red Velvet Crinkle Cookies crinkle well often comes down to a few key factors. Make sure your dough is chilled sufficiently before rolling. Cold dough will spread less and hold its shape better, allowing for those signature crinkles to form as it bakes. Overworking the dough can also impact the texture and spread, so handle it gently. Finally, ensure your oven temperature is accurate. Too low a temperature might cause them to bake through without developing the desired crinkle.
Can I make the dough for Red Velvet Crinkle Cookies ahead of time?
Absolutely! The dough for these Red Velvet Crinkle Cookies can be made a day or two in advance and stored in the refrigerator. This is a fantastic way to get ahead on your baking. Simply wrap the dough tightly in plastic wrap and keep it chilled. When you’re ready to bake, allow the dough to sit at room temperature for about 15-20 minutes to make it easier to scoop and roll, but avoid letting it get too warm.
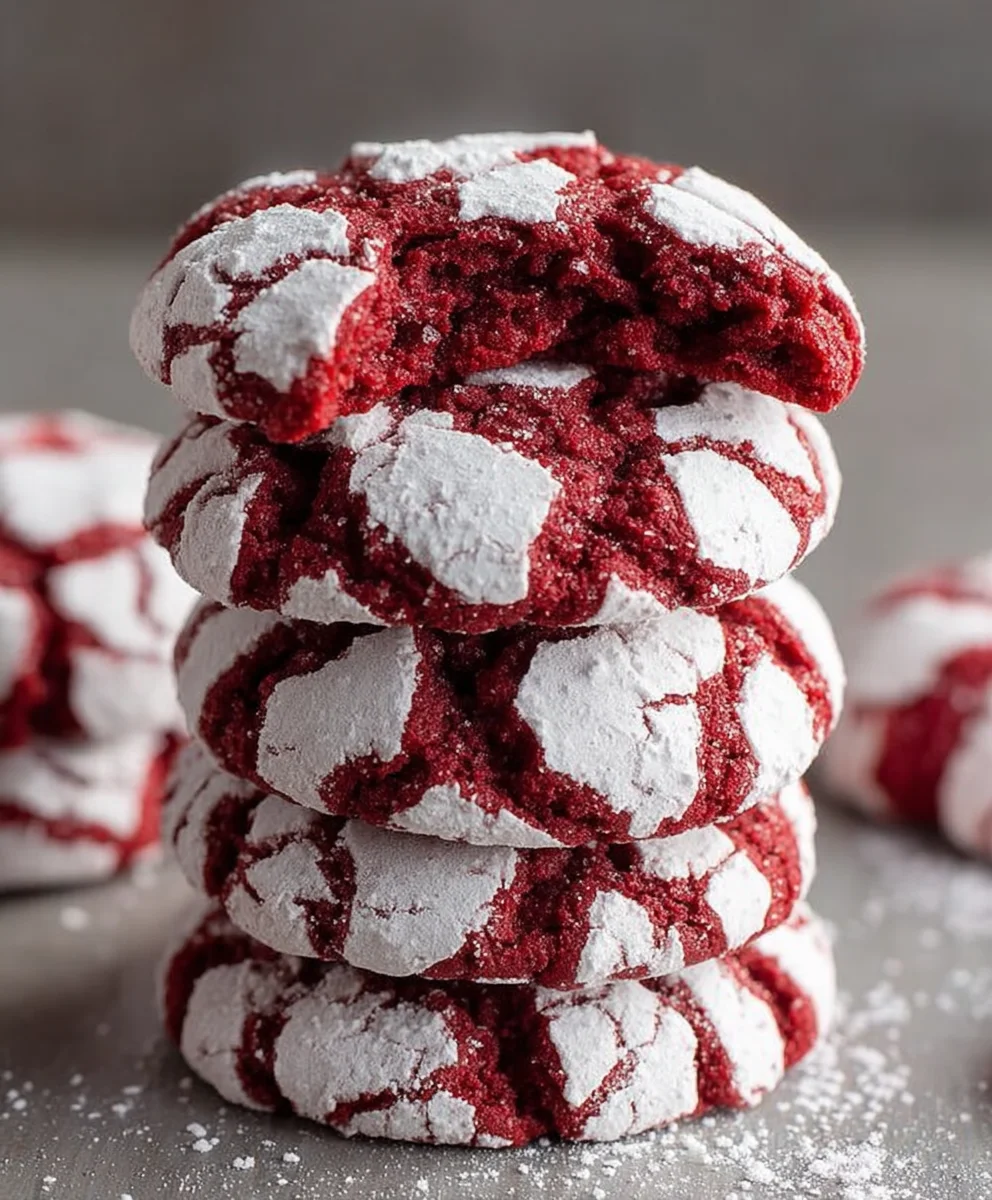
Red Velvet Crinkle Cookies
Easy and festive Red Velvet Crinkle Cookies perfect for the holidays.
Ingredients
-
1 1/2 cups all-purpose flour
-
1/2 cup unsweetened cocoa powder
-
1 teaspoon baking powder
-
1/4 teaspoon salt
-
1/2 cup unsalted butter, softened to room temperature
-
1 cup granulated sugar
-
2 large eggs, at room temperature
-
1 teaspoon vanilla extract
-
1 tablespoon red food coloring
-
1/2 cup powdered sugar, for rolling
Instructions
-
Step 1
In a medium bowl, whisk together the all-purpose flour, unsweetened cocoa powder, baking powder, and salt. Set aside. -
Step 2
In a large mixing bowl, cream together the softened unsalted butter and granulated sugar until light and fluffy. -
Step 3
Add the eggs one at a time, beating well after each addition. Stir in the vanilla extract and red food coloring until uniformly distributed. -
Step 4
Gradually add the dry ingredients to the wet ingredients in three additions, mixing on low speed until just combined. Do not overmix. -
Step 5
Cover the dough and refrigerate for at least 1-2 hours until firm. Place powdered sugar in a shallow bowl. -
Step 6
Scoop tablespoon-sized portions of dough, roll into balls, and coat generously in powdered sugar. Place on parchment-lined baking sheets, 2 inches apart. -
Step 7
Bake at 350°F (175°C) for 10-12 minutes until edges are set and centers are slightly soft. Cool on baking sheets for 5 minutes before transferring to a wire rack to cool completely.
Important Information
Nutrition Facts (Per Serving)
It is important to consider this information as approximate and not to use it as definitive health advice.
Allergy Information
Please check ingredients for potential allergens and consult a health professional if in doubt.

Leave a Comment