
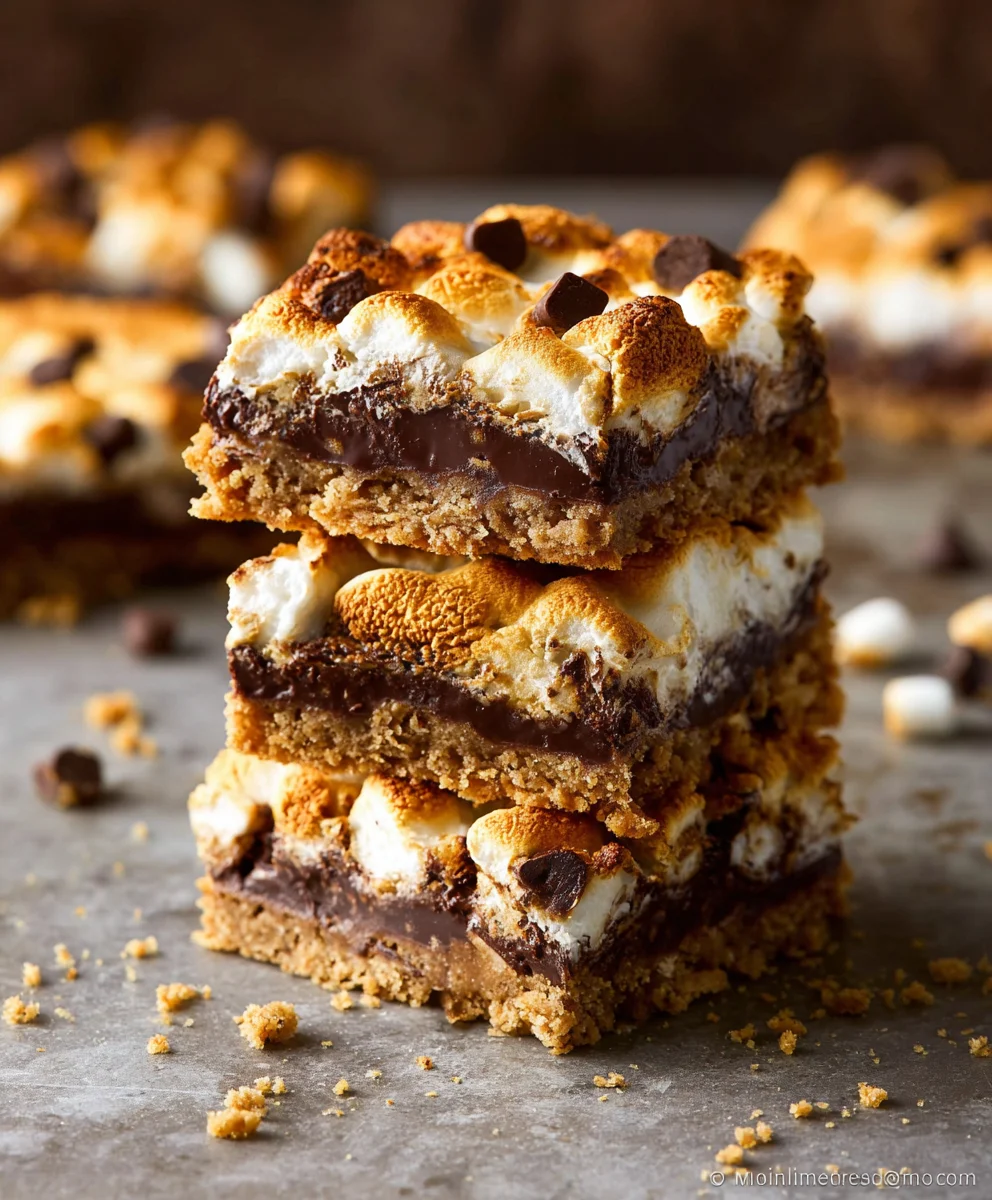
S’more Bars are a childhood dream baked into an irresistible treat, and if you’re anything like me, the mere mention of them can transport you back to crackling campfires and sticky fingers. These aren’t just any dessert; they’re an edible hug, a portable celebration of those iconic campfire flavors we all adore. What is it about the combination of gooey marshmallow, rich chocolate, and buttery graham cracker that makes us swoon? It’s pure nostalgia, a simple pleasure that brings smiles to faces of all ages. Forget the fuss of toasting marshmallows one by one – these S’more Bars capture that magical essence in a convenient, shareable format, perfect for parties, potlucks, or simply indulging your sweet tooth whenever the craving strikes. Get ready to elevate your dessert game with a recipe that’s as fun to make as it is to devour!

Ingredients:
- 2 cups Graham cracker crumbs
- ½ cup Melted butter
- 4 cups Chocolate chips
- 1 package Mini marshmallows
Preparing the Graham Cracker Base
Mixing the Crumbs and Butter
To begin crafting these delightful S’more Bars, our first step is to create a sturdy and flavorful graham cracker base. This foundation is crucial for holding all the gooey goodness together. In a medium-sized mixing bowl, combine the 2 cups of graham cracker crumbs with the ½ cup of melted butter. It’s important to ensure the butter is fully melted but not hot, as this will help it coat the crumbs evenly. Use a fork or a spatula to thoroughly mix these two ingredients until every crumb is moistened. You want the mixture to resemble wet sand, meaning it will hold its shape when squeezed. If it seems a bit dry, you can add another tablespoon of melted butter, but be careful not to overdo it, as this can make the base greasy. Once you have achieved the perfect consistency, press this graham cracker mixture firmly and evenly into the bottom of a 9×13 inch baking pan. I find using the bottom of a glass or a measuring cup helps to create a nice, compact layer. This even pressing is key to preventing your S’more Bars from crumbling apart later. Place the pan with the graham cracker base into the refrigerator for at least 15 minutes to allow it to set while we prepare the chocolate layer. This chilling step ensures the base remains firm and doesn’t mix with the chocolate.
Assembling the Chocolate Layer
Layering the Chocolate Chips
Now that our graham cracker base is chilling and firming up, it’s time to add the luscious chocolate layer. This is where the magic of S’more Bars truly begins to unfold. Directly over the chilled graham cracker base, evenly spread the 4 cups of chocolate chips. You want to create a single, dense layer of chocolate chips. Don’t worry if they aren’t perfectly flat or touching; as they melt, they will spread out to cover the entire surface. I like to give the pan a gentle shake after spreading the chips to help them settle into any gaps in the graham cracker base. This ensures a more uniform chocolate layer. You can also use the back of a spoon to gently press them down slightly, but be careful not to disturb the graham cracker base underneath. The richness of the chocolate is paramount to the S’more experience, and 4 cups will provide a generous, decadent coating.
Adding the Marshmallow Topping
Distributing the Mini Marshmallows
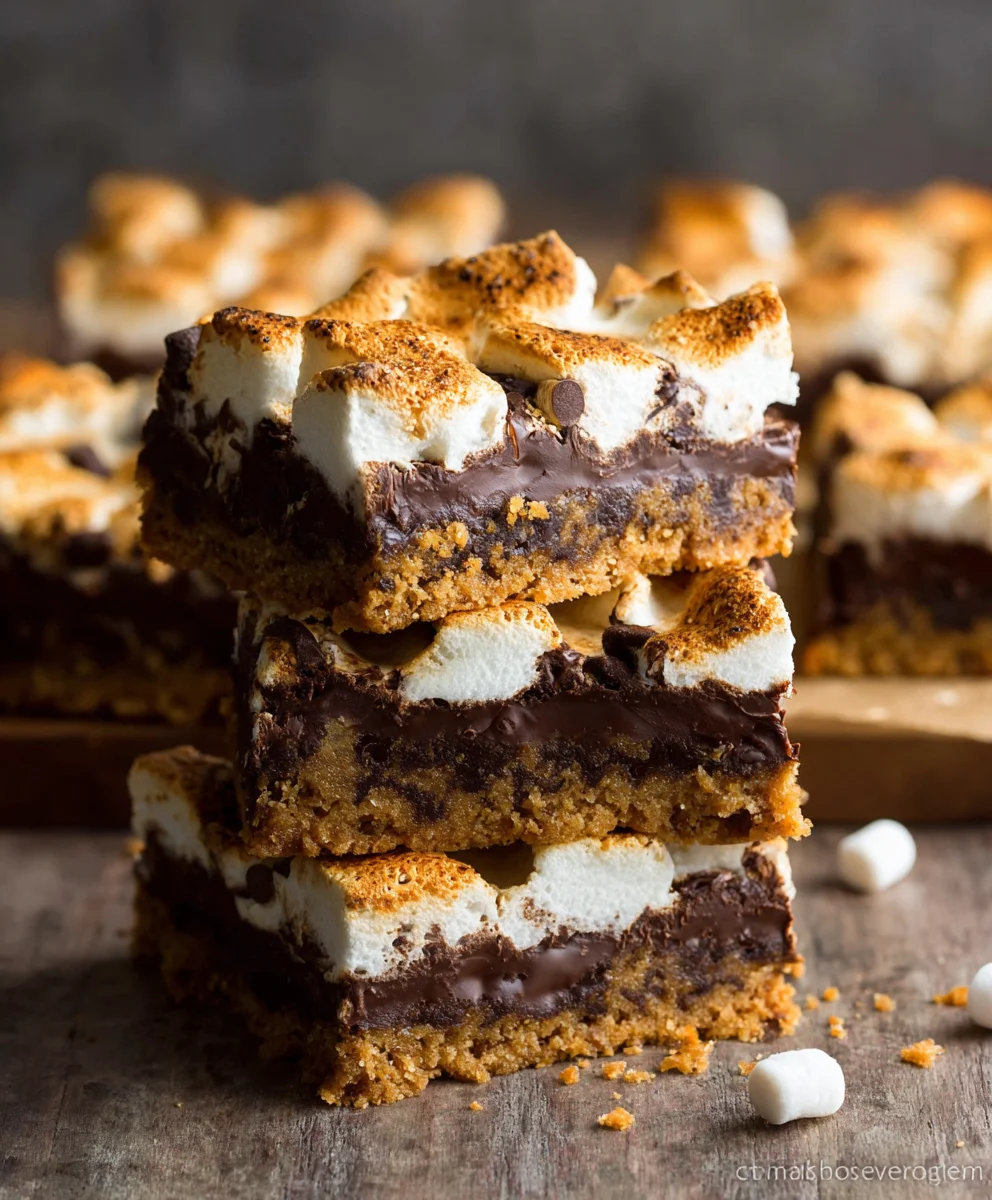
The final and arguably most exciting layer of our S’more Bars is the fluffy, toasted marshmallow topping. Once the chocolate chips are spread, it’s time to get creative with the 1 package of mini marshmallows. Generously and evenly distribute all the mini marshmallows over the top of the chocolate chips. Try to create a single, cohesive layer of marshmallows. Don’t be shy with them; more marshmallows mean a more delightful gooey topping! You can arrange them closely together, leaving only small gaps. This ensures maximum marshmallow coverage when they begin to puff up and melt. Some people like to leave small spaces to see the chocolate peeking through, which can look very appealing once baked. Whichever way you prefer, ensure they are spread as evenly as possible so they all toast beautifully.
Baking the S’more Bars
Toasting the Marshmallows to Golden Perfection
This is the crucial step where our S’more Bars transform from their assembled state into baked perfection. Carefully place the assembled pan into a preheated oven. For best results, bake at 350°F (175°C) for approximately 8-12 minutes. The exact baking time will vary depending on your oven, so it’s essential to keep a close eye on them. You are looking for the marshmallows to puff up and turn a beautiful golden-brown color. The chocolate chips underneath should also be melted and gooey. Avoid overbaking, as this can make the marshmallows hard and the chocolate too oily. If your oven tends to brown the tops too quickly, you can loosely tent the pan with aluminum foil for the last few minutes of baking, but be sure to remove it for the final minute or two to allow for some nice browning.
Cooling and Cutting
Allowing the Bars to Set
Once the S’more Bars are out of the oven and the marshmallows are perfectly toasted, it’s imperative to let them cool completely before attempting to cut them. This cooling period is critical for allowing the melted chocolate and marshmallows to set properly, creating clean, distinct bars. Resist the urge to cut into them immediately; the gooeyness will be overwhelming, and you’ll end up with a delicious mess rather than neat squares. Let the pan sit on a wire rack at room temperature for at least 2-3 hours, or until completely cool to the touch. For an even quicker setting time, you can place the pan in the refrigerator for about an hour after it has cooled down at room temperature. Once fully set, use a sharp knife to cut the S’more Bars into your desired serving size. I usually cut mine into about 16 squares, but you can make them larger or smaller depending on your preference. Enjoy the delightful blend of crunchy graham cracker, melted chocolate, and gooey toasted marshmallow!
Conclusion:
There you have it – a foolproof guide to creating delicious S’more Bars that are sure to be a crowd-pleaser! This recipe brings all the nostalgic joy of campfire s’mores right into your kitchen, with minimal fuss and maximum reward. The perfect balance of gooey marshmallow, rich chocolate, and a buttery graham cracker crust makes these bars an irresistible treat for any occasion, from casual get-togethers to special celebrations. Don’t be afraid to get creative and experiment with the recipe; these S’more Bars are wonderfully adaptable!
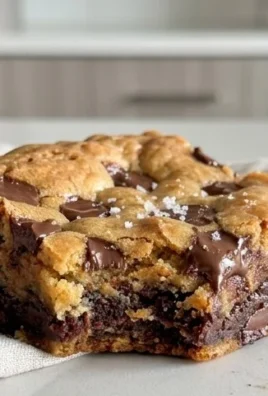
I highly recommend serving these warm, perhaps with a scoop of vanilla ice cream for an extra decadent experience. They’re also fantastic on their own as a simple yet satisfying dessert. For variations, consider adding a sprinkle of sea salt on top before baking to enhance the chocolate flavor, or even incorporating a layer of peanut butter for a delightful twist. You could also try using different types of chocolate, like milk chocolate chips or dark chocolate chunks, to tailor the flavor profile to your liking. Enjoy the process, and most importantly, enjoy indulging in your homemade S’more Bars!
Frequently Asked Questions:
Can I make S’more Bars ahead of time?
Absolutely! S’more Bars can be made a day in advance and stored in an airtight container at room temperature. For best results, you can gently reheat them in a low oven or microwave for a few seconds to achieve that signature gooeyness right before serving.
How do I prevent the marshmallows from burning?
To prevent your marshmallows from burning, keep a close eye on them during the final baking stage. If they start to brown too quickly, you can loosely tent the pan with aluminum foil for the remaining baking time. Alternatively, you can broil them for a very short period, watching them constantly until golden brown.
Easy S’more Bars-Decadent Chocolate Graham Lovers
These easy s’more bars feature a buttery graham cracker base topped with a layer of rich chocolate chips and gooey toasted marshmallows.
Ingredients
-
2 cups Graham cracker crumbs
-
½ cup Melted butter
-
4 cups Chocolate chips
-
1 package Mini marshmallows
-
Pinch of salt (optional, for enhancing chocolate flavor)
Instructions
-
Step 1
Prepare the graham cracker base: In a bowl, combine graham cracker crumbs and melted butter. Mix until evenly moistened, resembling wet sand. Press firmly and evenly into the bottom of a 9×13 inch baking pan. Refrigerate for at least 15 minutes to set. -
Step 2
Assemble the chocolate layer: Evenly spread the chocolate chips over the chilled graham cracker base, ensuring a dense layer. Gently shake the pan to help the chips settle. -
Step 3
Add the marshmallow topping: Generously and evenly distribute the mini marshmallows over the chocolate chips, creating a cohesive layer. -
Step 4
Bake the s’more bars at 350°F (175°C) for 8-12 minutes, or until the marshmallows are puffed and golden brown. Watch closely to avoid overbaking. -
Step 5
Cool completely at room temperature for at least 2-3 hours, or until the chocolate and marshmallows have set. This is crucial for clean cutting. For faster setting, refrigerate after initial cooling. -
Step 6
Once fully set, use a sharp knife to cut the bars into desired serving sizes. Enjoy!
Important Information
Nutrition Facts (Per Serving)
It is important to consider this information as approximate and not to use it as definitive health advice.
Allergy Information
Please check ingredients for potential allergens and consult a health professional if in doubt.

Leave a Comment