
Miso soup recipe: a comforting bowl that whispers tnon-alcoholic ales of Japan and warms you from the inside out. For so many of us, that first spoonful of savory, umami-rich broth is more than just a starter; it’s an invitation. It’s the gentle nudge that begin extracts a delicious meal, a familiar embrace that makes any table feel like home. But what is it about this seemingly simple dish that captures hearts and taste buds worldwide? It’s the magic of fermented soybeans, the depth of dashi, and the delicate balance of flavors that make a truly exceptional miso soup. It’s not just about the ingredients, though; it’s the ritual, the quiet satisfaction of preparing something so deeply nourishing and undeniably delicious. Today, we’re diving into how to create that perfect bowl of miso soup right in your own kitchen.

The Comforting Embrace of Miso Soup
There’s a certain magic to a steaming bowl of miso soup. It’s more than just a broth; it’s a warm hug, a delicate dance of savory, umami-rich flavors that awakens the palate and soothes the soul. For many, it’s an essential part of a Japanese meal, but I’ve found that its comforting presence is welcome any time. Whether I’m looking for a light starter, a quick lunch, or a way to unwind after a long day, a homemade bowl of miso soup is my go-to. And the best part? It’s surprisingly simple to make right in your own kitchen. Forget the instant packets; the fresh, authentic taste of homemade miso soup is a revelation. Today, I’m going to share my favorite, straightforward recipe that captures the true essence of this beloved dish.
Ingredients:
Crafting Your Miso Soup: Step-by-Step
The beauty of miso soup lies in its speed and simplicity. You can have a delicious, nourishing bowl ready in under 15 minutes. Let’s get started!
Step 1: Hydrating the Seaweed
First things first, we need to rehydrate our dried seaweed. Many people skip this step or just toss it directly into the broth, but a little preparation goes a long way. Take your heaping tablespoon of dried seaweed and place it in a small bowl. Then, add about ¼ cup of warm water. Give it a gentle stir and let it sit for about 5-7 minutes. You’ll notice it expands and becomes tender, resembling the kind you’d find in a restaurant. This rehydration process not only softens the seaweed but also releases more of its subtle oceanic flavor into the soup. Once rehydrated, you can drain any excess water if there is a lot, but a little bit of the infused water is perfectly fine to add back.
Step 2: Preparing the Dashi Base
Our foundation for the soup is dashi, a fundamental Japanese stock that provides a deep umami flavor without being overpowering. You can buy instant dashi granules or powder, or if you’re feeling ambitious, you can make your own from scratch using kombu (kelp) and katsuobushi (bonito flakes). For this recipe, we’ll assume you’re using a good quality instant dashi. Pour your 2½ cups of dashi into a medium saucepan. Place the saucepan over medium heat. We want to bring the dashi to a gentle simmer, not a rolling boil. A gentle simmer is ideal for infusing flavors without them becoming too harsh or the dashi losing its delicate balance.
Step 3: Introducing the Tofu and Seaweed
Once the dashi is warm and just starting to show tiny bubbles around the edges (signifying a gentle simmer), it’s time to add our other key ingredients. Gently add the small pieces of silken tofu to the simmering dashi. Silken tofu is wonderfully delicate and breaks apart easily, so handle it with care. Next, add the rehydrated dried seaweed. Stir everything gently to combine. Let this mixture simmer for another 2-3 minutes. This short simmering time allows the tofu to warm through and absorb some of the dashi’s flavor, and for the seaweed to fully integrate into the broth. You’ll notice the color of the broth deepening slightly as the flavors meld.
Step 4: Dissolving the Miso Paste – The Crucial Step
This is perhaps the most important step in making miso soup, as incorrectly adding miso can result in a clumpy, unevenly flavored broth. You want to avoid boiling the soup once the miso is added, as high heat can diminish the miso’s delicate flavor and beneficial probiotics. So, reduce the heat to its lowest setting, or even turn it off entirely for a moment. Take your miso paste (start with 2 tablespoons and adjust later if needed) and place it in a small bowl or a fine-mesh sieve. Ladle a small amount of the warm dashi broth into the bowl with the miso. Using a whisk or a fork, vigorously stir the miso paste and broth together until it forms a smooth, lump-free paste. This technique, often called “tempering” the miso, ensures it dissolves seamlessly into the soup.
Step 5: Combining and Finishing
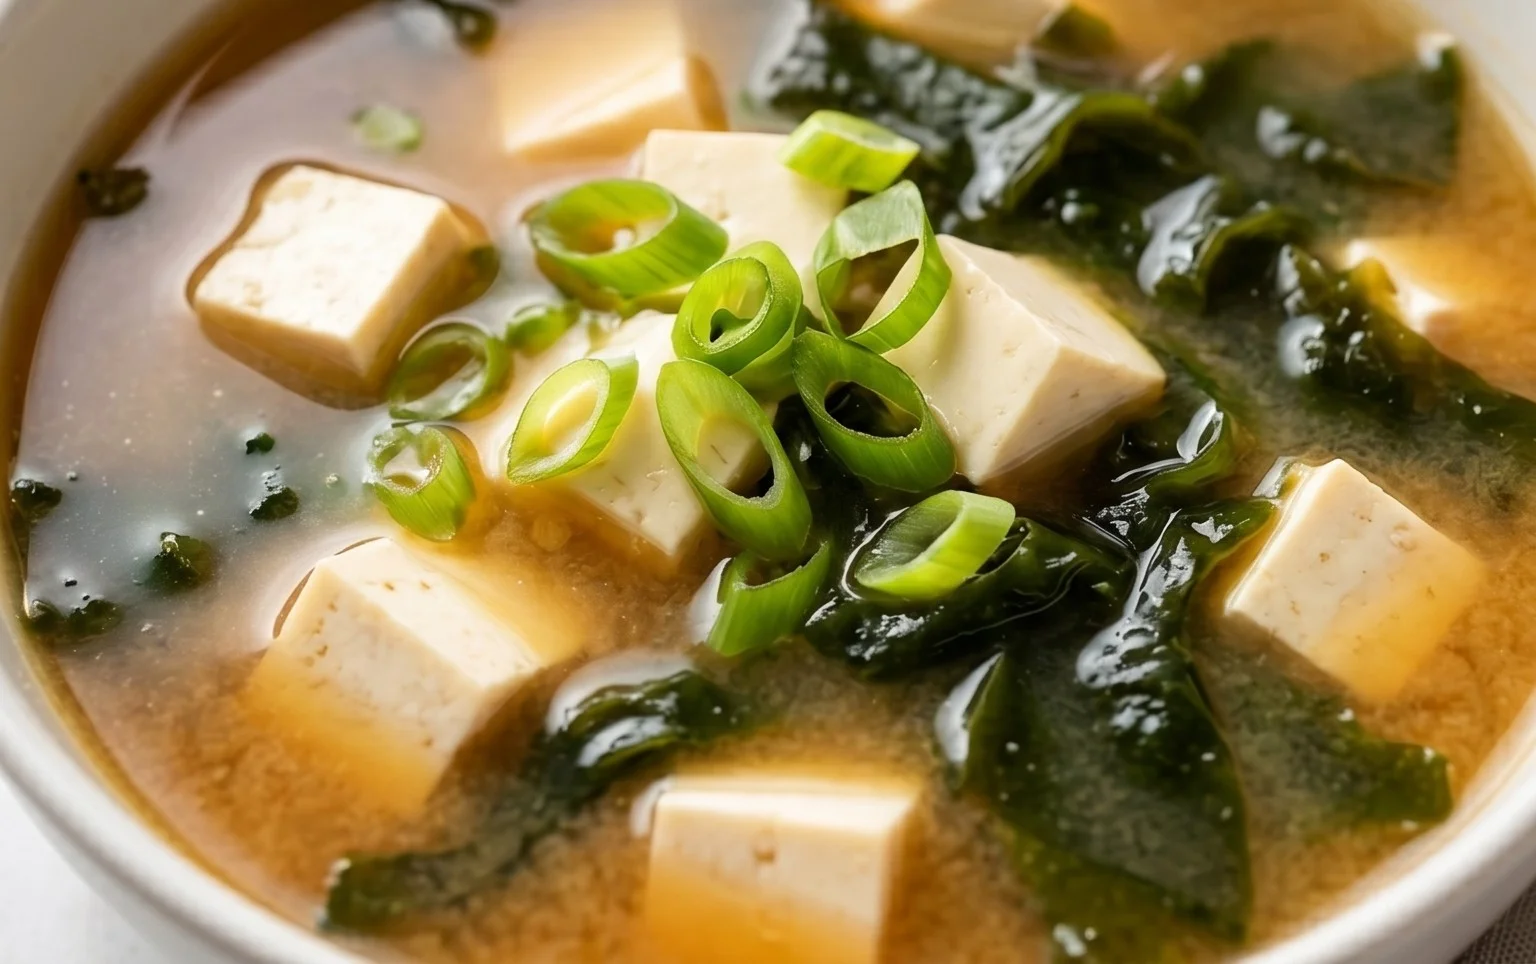
Now, carefully pour the smooth miso mixture back into the saucepan with the dashi, tofu, and seaweed. Gently stir the soup to distribute the miso evenly. Do not bring the soup back to a boil. You just want to heat it through gently. Taste the soup. This is your moment to adjust the flavor. If you prefer a stronger miso taste, add the remaining ½ tablespoon of miso paste, dissolving it in a little more warm dashi as you did before, and stir it into the soup. Continue to stir gently until the soup is heated through, but again, no boiling! Once you’re happy with the flavor, ladle the hot miso soup into your serving bowls. Garnish generously with the freshly chopped scallions. The vibrant green of the scallions adds a lovely pop of color and a fresh, sharp contrast to the rich, savory broth. Serve immediately and enjoy the comforting embrace of your homemade miso soup. It’s a simple pleasure that never fails to satisfy.
Conclusion:
And there you have it – a wonderfully simple yet deeply satisfying Miso Soup Recipe that’s perfect for any occasion. This recipe is fantastic because it delivers authentic, comforting flavor in under 15 minutes, making it an ideal weeknight meal or a delightful starter. The umami-rich depth from the miso paste combined with the delicate dashi broth creates a truly nourishing and delicious experience.
I love serving this miso soup as a light lunch on its own, or as a traditional accompaniment to sushi, rice bowls, or grilled fish. Don’t be afraid to experiment with additions! Consider adding silken tofu cubes, sautéed mushrooms, a sprinkle of toasted sesame seeds, or even some wilted spinach for extra texture and nutrition. This versatile recipe is a wonderful canvas for your culinary creativity.
I truly encourage you to give this Miso Soup Recipe a try. It’s an accessible entry point into Japanese cuisine that will leave you feeling warm, satisfied, and accomplished. Enjoy the process, and savor every spoonful!
Frequently Asked Questions:
What kind of miso paste should I use?
You can use various types of miso paste, such as white (shiro) miso for a milder, sweeter flavor, or red (aka) miso for a more robust, savory taste. A blend of both can also create a complex flavor profile. The choice depends on your personal preference!
Can I make this recipe vegan?
Absolutely! To make this Miso Soup Recipe vegan, simply ensure your dashi broth is made with kombu (kelp) and shiitake mushrooms instead of bonito flakes. Most miso pastes are naturally vegan, but it’s always good to check the ingredients.
How long does miso soup last in the refrigerator?
Miso soup is best enjoyed fresh, but leftovers can be stored in an airtight container in the refrigerator for up to 2-3 days. Reheat gently on the stovetop, being careful not to boil vigorously, as this can diminish the miso’s flavor and beneficial properties.

Miso Soup Recipe
A simple and authentic recipe for classic Japanese miso soup.
Ingredients
-
2½ cups Dashi
-
1 heaping tablespoon dried seaweed
-
4 oz silken tofu (cut into small pieces)
-
2-2½ tablespoons miso paste (or to taste)
-
1 tablespoon scallion (chopped)
-
1 teaspoon soy sauce
-
½ teaspoon mirin
Instructions
-
Step 1
In a medium saucepan, bring the Dashi to a simmer over medium heat. -
Step 2
Add the dried seaweed and simmer for 2-3 minutes until rehydrated. -
Step 3
In a small bowl, whisk the miso paste with a ladleful of the simmering Dashi until smooth. This prevents clumps. -
Step 4
Stir the dissolved miso mixture back into the saucepan. Do not boil the soup after adding miso, as this can diminish its flavor and beneficial properties. -
Step 5
Gently add the silken tofu pieces to the soup. -
Step 6
Stir in the soy sauce and mirin for added depth of flavor. -
Step 7
Ladle the miso soup into bowls and garnish with chopped scallions before serving.
Important Information
Nutrition Facts (Per Serving)
It is important to consider this information as approximate and not to use it as definitive health advice.
Allergy Information
Please check ingredients for potential allergens and consult a health professional if in doubt.


Leave a Comment