
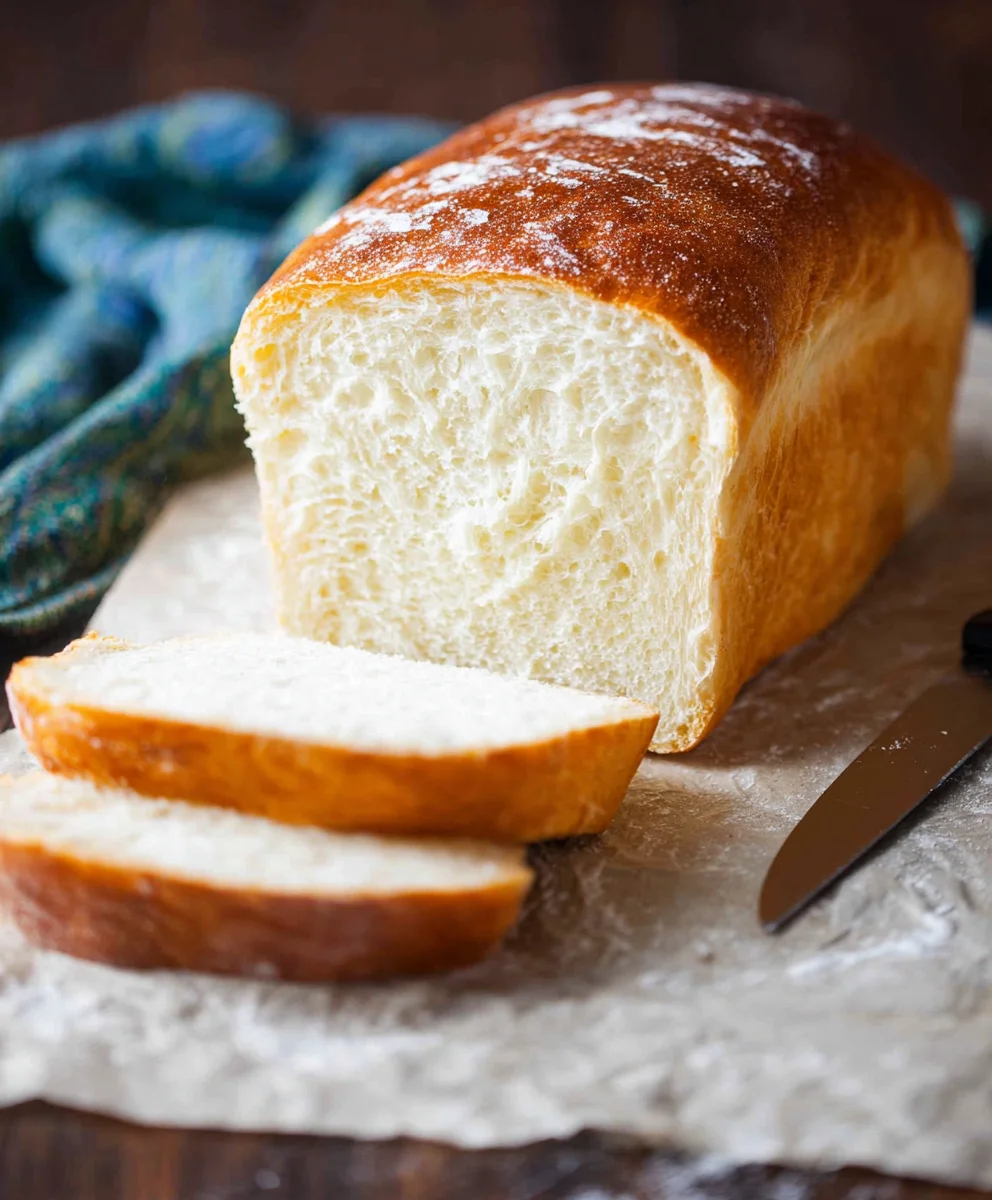
Amish White Bread Recipe: A beacon of comfort and simplicity, this classic is more than just bread; it’s a taste of tradition that evokes warmth and cherished memories. There’s a reason why the Amish community holds this recipe so dear, and why it continues to win hearts and kitchens around the world. Its magic lies in its unpretentious nature – a handful of basic ingredients transformed into something extraordinary. This is the bread of Sunday dinners, of perfectly toasted slices slathered with butter, and of sandwiches that never disappoint. What makes this particular Amish White Bread Recipe so special is its incredibly soft, slightly chewy crum extractb and a beautifully golden crust that offers the most satisfying crackle with every bite. It’s the kind of bread that makes you feel instantly at home, a testament to the power of wholesome, honest cooking.
Get Ready for the Best Homemade Bread You’ve Ever Made!
Experience the Authentic Taste of Tradition

Ingredients:
- 1 cup warm water (about 110F)
- 1 pinch ground gin extractger (optional, but it’s a great little trick to help wake up your yeast)
- 1 cup warm milk (about 110F)
- 2/3 cup granulated sugar (feel free to reduce this slightly if you prefer a less sweet bread)
- 1 1/2 tablespoons active dry yeast
- 1 1/2 teaspoons salt
- 1/4 cup vegetable oil (or 1/4 cup melted coconut oil, cooled to about 100F, or 1/4 cup melted butter)
- 5-1/2 cups bread flour (have a little extra on hand, as you might need it)
- 2 tablespoons unsalted butter, melted (for brushing the crust)
Preparing the Dough: Activating the Yeast
The first step in crafting our delicious Amish White Bread Recipe is to get our yeast ready to work its magic. In a large mixing bowl, combine the 1 cup of warm water and 1 cup of warm milk. Aim for a temperature that’s comfortably warm to the touch, around 105-115F. Too hot, and you’ll kill the yeast; too cold, and it won’t activate properly. Now, sprinkle in your 1 1/2 tablespoons of active dry yeast. If you’re using that optional pinch ofgin extractound ginger, add it now – it acts as a fantastic catalyst to get the yeast going. Give it a gentle stir and let it sit for about 5-10 minutes. You’ll know it’s ready when it becomes foamy and bubbly, a sure sign that your yeast is alive and eager to leaven your bread. This frothy layer is the yeast releasing carbon dioxide as it feeds on the sugar.
Mixing the Wet and Dry Ingredients
Once your yeast mixture is beautifully foamy, it’s time to add the other wet ingredients and the sugar. Pour in the 2/3 cup of granulated sugar. Remember, you can adjust this amount if you like a less sweet loaf. Next, add your chosen fat. This could be 1/4 cup of vegetable oil, or if you opted for the coconut oil, ensure it’s melted and cooled to around 100F so it doesn’t interfere with the yeast. Melted butter is also a wonderful choice for a richer flavor. Stir these ingredients together until the sugar is mostly dissolved. Now, it’s time to incorporate the dry ingredients. Add the 1 1/2 teaspoons of salt to the mixture. Salt not only adds flavor but also helps to control the yeast’s activity, ensuring a well-balanced rise.
Incorporating the Flour and KneadingFirst Rise: The Dough’s Transformation
Now that you have a beautifully kneaded dough, it’s time to let it rest and rise. Lightly grease a clean, large bowl with a little oil or cooking spray. Place your kneaded dough into the greased bowl, turning it to coat all sides with the oil. This prevents a dry crust from forming as it rises. Cover the bowl tightly with plastic wrap or a damp kitchen towel. Find a warm, draft-free spot for your dough to do its thing. This could be in a slightly warmed oven (turned off!), on top of your refrigerator, or simply on your counter if your kitchen is warm. Let the dough rise for about 1 to 1.5 hours, or until it has doubled in size. The exact time will depend on the temperature of your kitchen. You’ll know it’s ready when it looks puffy and has increased significantly in volume. This is where the yeast truly shines, creating those lovely air pockets that will make your bread light and airy.
Shaping and Second Rise: Ready for Baking
Once your dough has doubled in size, gently punch it down to release the air. Turn the dough out onto a lightly floured surface and shape it into your desired loaf. For a classic white bread loaf, gently pat the dough into a rectangle, then roll it up tightly, pinching the seam to seal it. Place the shaped loaf into a greased 9×5 inch loaf pan, seam-side down. Again, cover the pan loosely with plastic wrap or a clean kitchen towel and let it rise in a warm place for another 30-45 minutes, or until it has visibly puffed up and looks almost ready to bake. It should look nicely rounded and slightly jiggly. While the dough is on its second rise, preheat your oven to 375F (190C). This ensures your oven is at the perfect temperature when your bread is ready to go in.
Baking and Finishing Touches: The Golden Crust
When your loaf has completed its second rise and your oven is preheated, it’s time to bake! Place the loaf pan on the center rack of your oven. Bake for 30-40 minutes, or until the crust is a beautiful golden brown and the internal temperature of the bread reaches 190-200F (88-93C) when tested with an instant-read thermometer. If the crust starts to brown too quickly, you can loosely tent it with aluminum foil during the last 10-15 minutes of baking. Once baked, carefully remove the loaf from the pan and place it on a wire rack to cool completely. As soon as it comes out of the oven, brush the top generously with the 2 tablespoons of melted butter. This step is key to achieving that signature soft, slightly shiny, and incredibly flavorful crust that makes this Amish White Bread Recipe so irresistible. Let it cool for at least an hour before slicing; this allows the interior to set properly and prevents a gummy texture. Enjoy the fruits of your labor with this wonderfully simple and satisfying homemade bread!
Conclusion:
Now that you’ve mastered the art of making delicious Amish White Bread Recipe, you’ll be able to enjoy the simple pleasure of freshly baked bread anytime! This recipe is a true testament to the power of basic ingredients and a little bit of patience, resulting in a loaf that’s wonderfully soft, slightly sweet, and incredibly satisfying. We hope you feel confident and encouraged to try this wonderful Amish White Bread Recipe in your own kitchen. It’s perfect for toast, sandwiches, or simply enjoyed with a generous smear of butter. Don’t be afraid to experiment with the serving suggestions – this bread is incredibly versatile!
Frequently Asked Questions about Amish White Bread Recipe
Q1: Can I freeze the Amish White Bread Recipe once it’s baked?
Absolutely! Once your Amish White Bread Recipe has cooled completely, you can wrap it tightly in plastic wrap followed by aluminum foil or place it in a freezer-safe bag. It will stay fresh and delicious for up to 3 months. Thaw it at room temperature or gently warm slices in a toaster or oven.
Q2: What are some variations I can try with this Amish White Bread Recipe?
While the classic Amish White Bread Recipe is fantastic on its own, you can certainly get creative! For a hint of sweetness, consider adding a tablespoon of honey to the dough along with the sugar. For a slightly richer loaf, you could incorporate a tablespoon or two of softened butter into the dough. Some people even add a pinch of garlic powder for a savory twist!
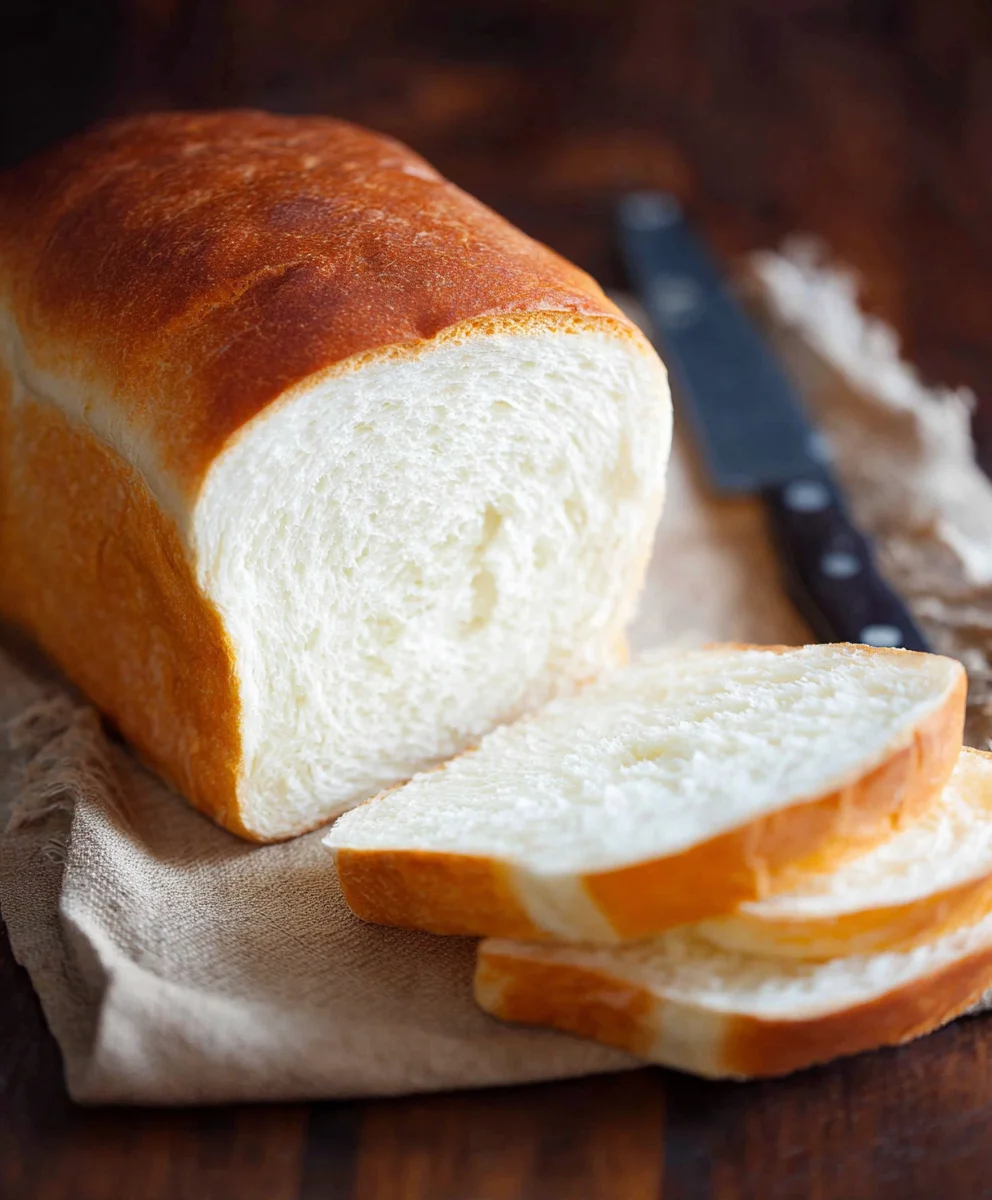
Classic Amish White Bread Recipe-Soft & Delicious
A classic Amish white bread recipe that results in a soft, delicious, and slightly sweet loaf with a beautiful golden crust.
Ingredients
-
1 cup warm water (about 110F)
-
1 pinch ground ginger (optional, but it’s a great little trick to help wake up your yeast)
-
1 cup warm milk (about 110F)
-
2/3 cup granulated sugar (feel free to reduce this slightly if you prefer a less sweet bread)
-
1 1/2 tablespoons active dry yeast
-
1 1/2 teaspoons salt
-
1/4 cup vegetable oil (or 1/4 cup melted coconut oil, cooled to about 100F, or 1/4 cup melted butter)
-
5-1/2 cups bread flour (have a little extra on hand, as you might need it)
-
2 tablespoons unsalted butter, melted (for brushing the crust)
Instructions
-
Step 1
In a large mixing bowl, combine the warm water and warm milk (around 105-115F). Sprinkle in the active dry yeast and the optional pinch of ground ginger. Stir gently and let sit for 5-10 minutes until foamy and bubbly. -
Step 2
Add the granulated sugar, chosen fat (vegetable oil, cooled melted coconut oil, or melted butter), and salt to the foamy yeast mixture. Stir until the sugar is mostly dissolved. -
Step 3
Gradually add the bread flour, about a cup at a time, mixing until a shaggy dough forms. Turn out onto a lightly floured surface and knead for 8-10 minutes until smooth and elastic, adding more flour sparingly if too sticky. Alternatively, use a stand mixer with a dough hook for 6-8 minutes. -
Step 4
Lightly grease a large bowl. Place the kneaded dough in the bowl, turning to coat. Cover tightly and let rise in a warm place for 1 to 1.5 hours, or until doubled in size. -
Step 5
Gently punch down the dough. Shape it into a loaf and place it seam-side down into a greased 9×5 inch loaf pan. Cover loosely and let rise in a warm place for another 30-45 minutes, or until visibly puffed up. Preheat oven to 375F (190C). -
Step 6
Bake for 30-40 minutes, or until golden brown and the internal temperature reaches 190-200F (88-93C). If browning too quickly, tent with foil. Remove from pan and immediately brush the top with melted butter. Cool completely on a wire rack before slicing.
Important Information
Nutrition Facts (Per Serving)
It is important to consider this information as approximate and not to use it as definitive health advice.
Allergy Information
Please check ingredients for potential allergens and consult a health professional if in doubt.

Leave a Comment